Bright ideas
The fall rain has arrived in town, which signifies a near end to lazy outdoor evenings. But, with the week or two we have left before winter takes over, I've decided to throw one last shindig. The table settings are ready (earthy to represent harvest time), my menu's all outlined (butternut squash soup and eggplant casserole), and I've sent my e-mail and text message invitations ("Dinner at my place. After game. Bring a pumpkin.")...
The fall rain has arrived in town, which signifies a near end to lazy outdoor evenings.
But, with the week or two we have left before winter takes over, I've decided to throw one last shindig.
The table settings are ready (earthy to represent harvest time), my menu's all outlined (butternut squash soup and eggplant casserole), and I've sent my e-mail and text message invitations ("Dinner at my place. After game. Bring a pumpkin.").
I think attendance will be high, especially since pumpkin carving is on the agenda and everyone's going home with a bag of toasted pumpkin seeds. And, as long as the weather holds out, we'll just need jackets to keep all the pumpkin and party mess in the backyard.

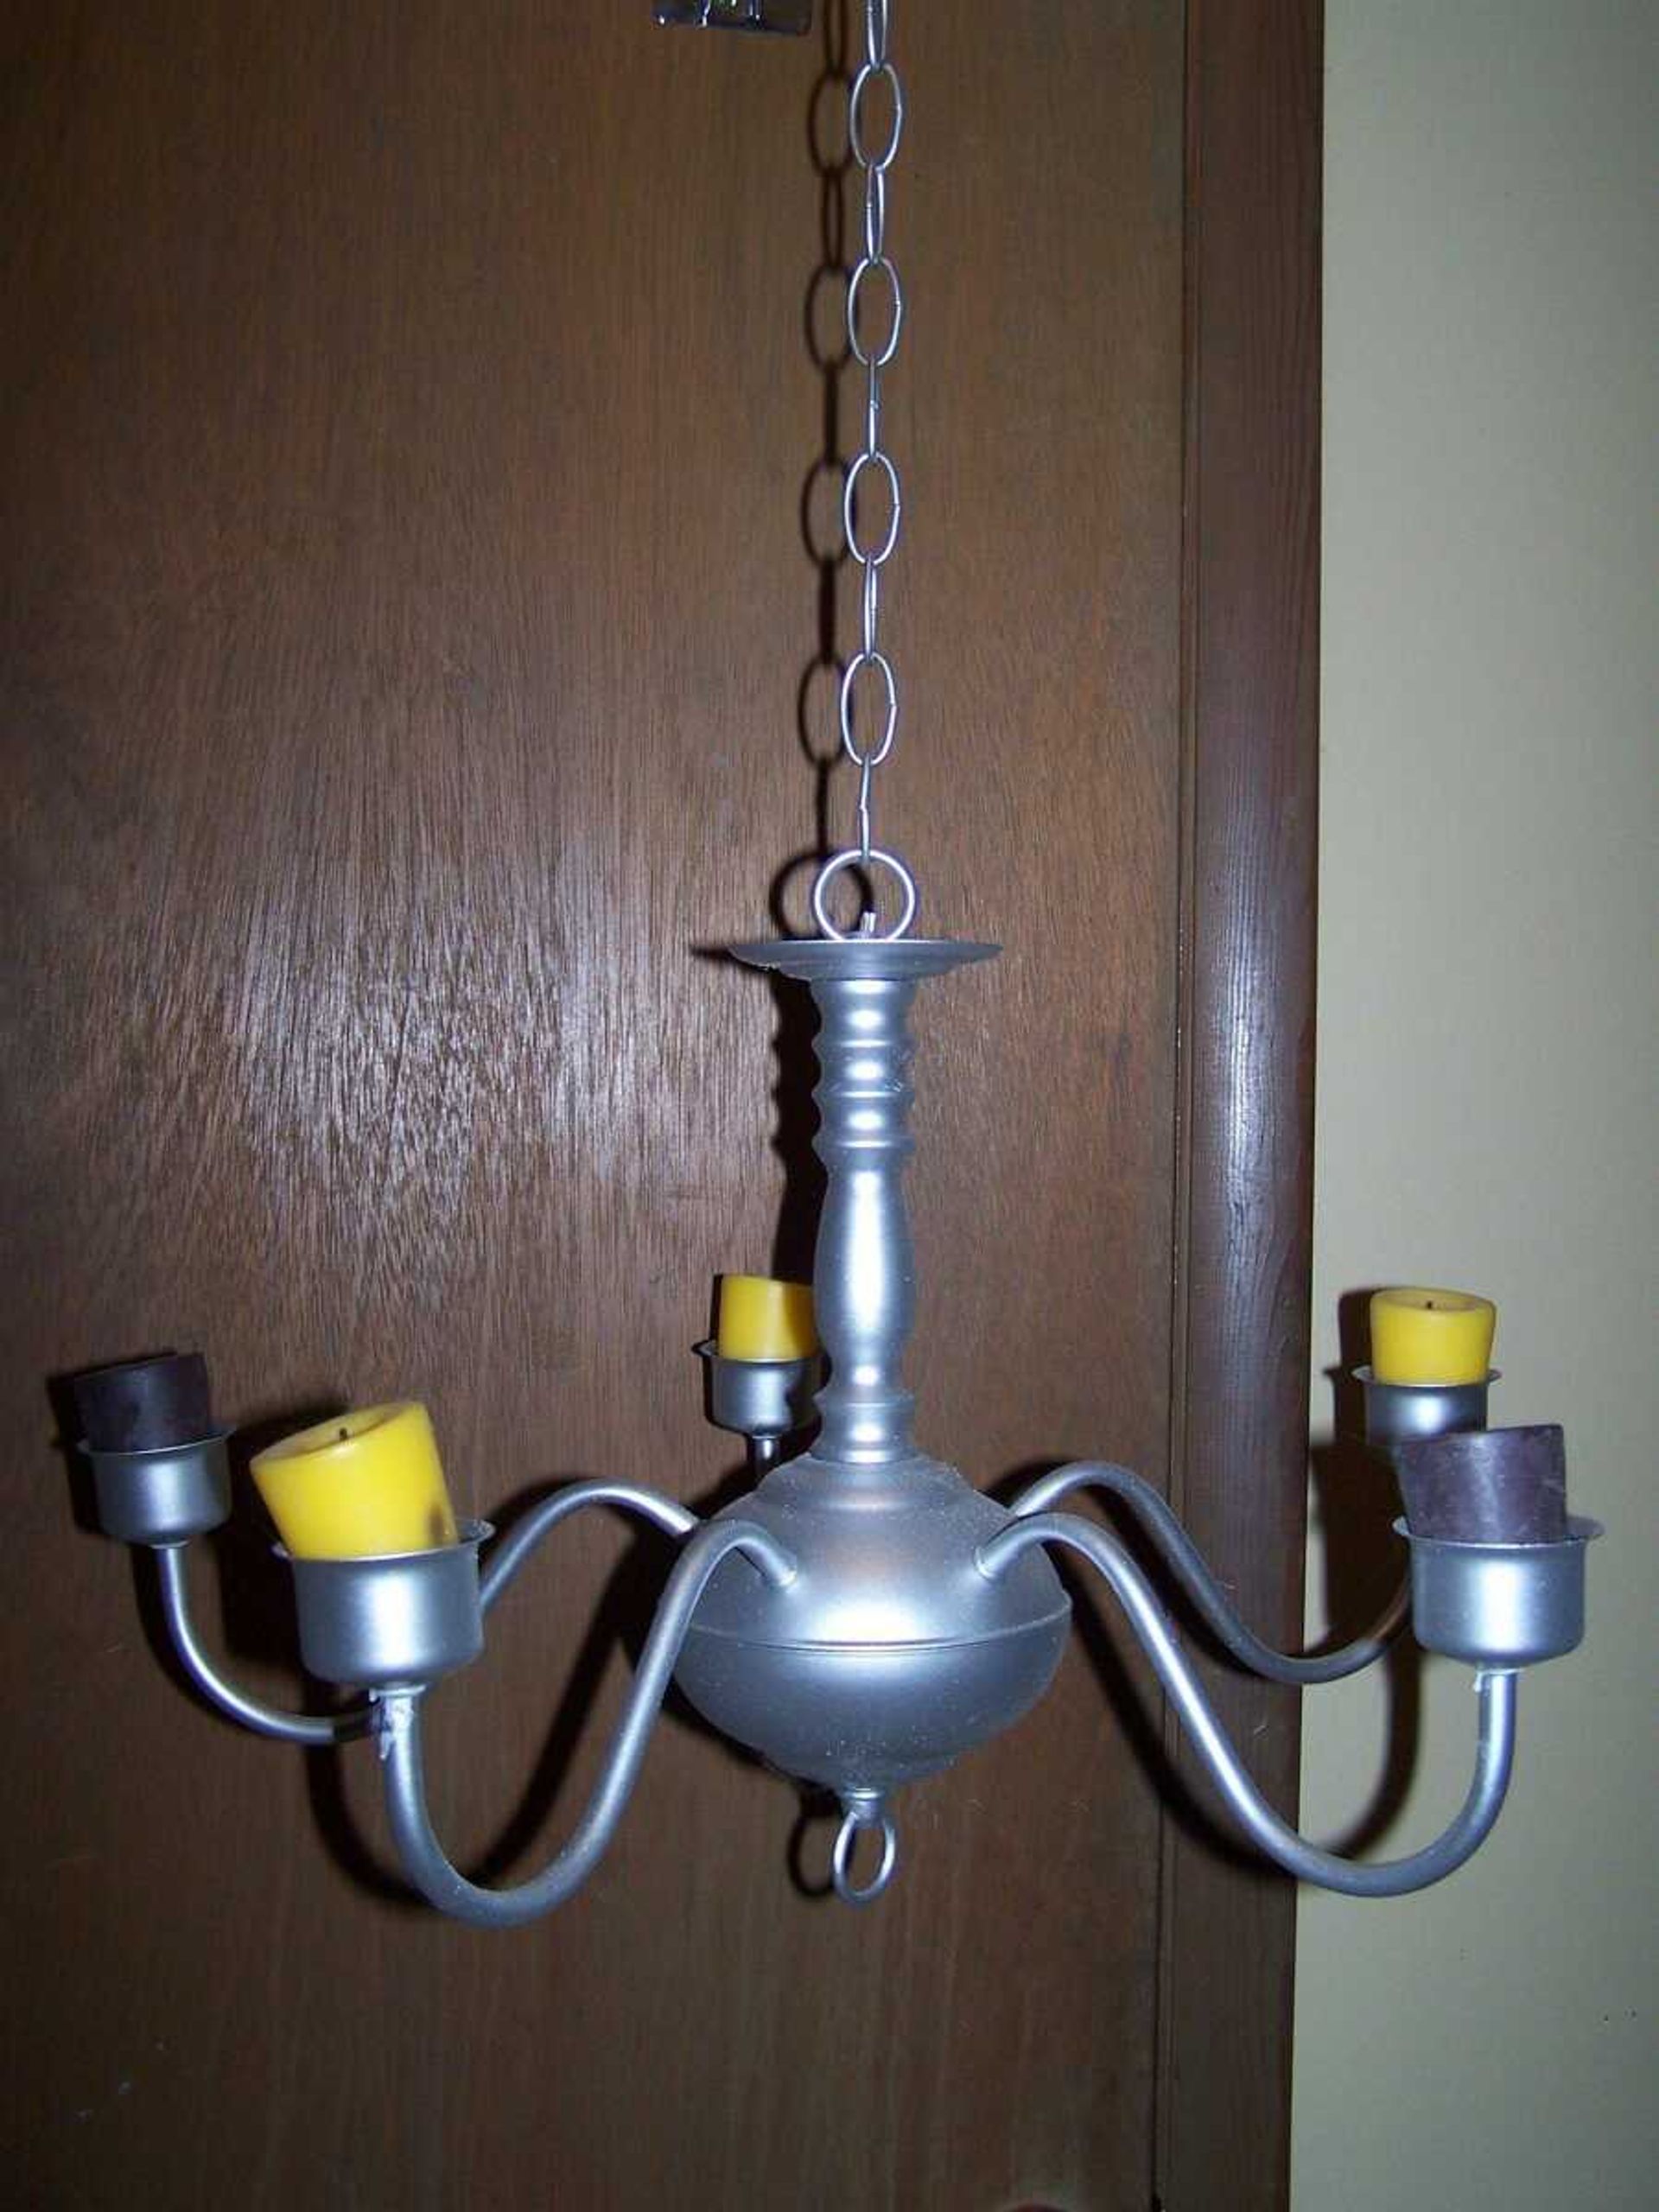
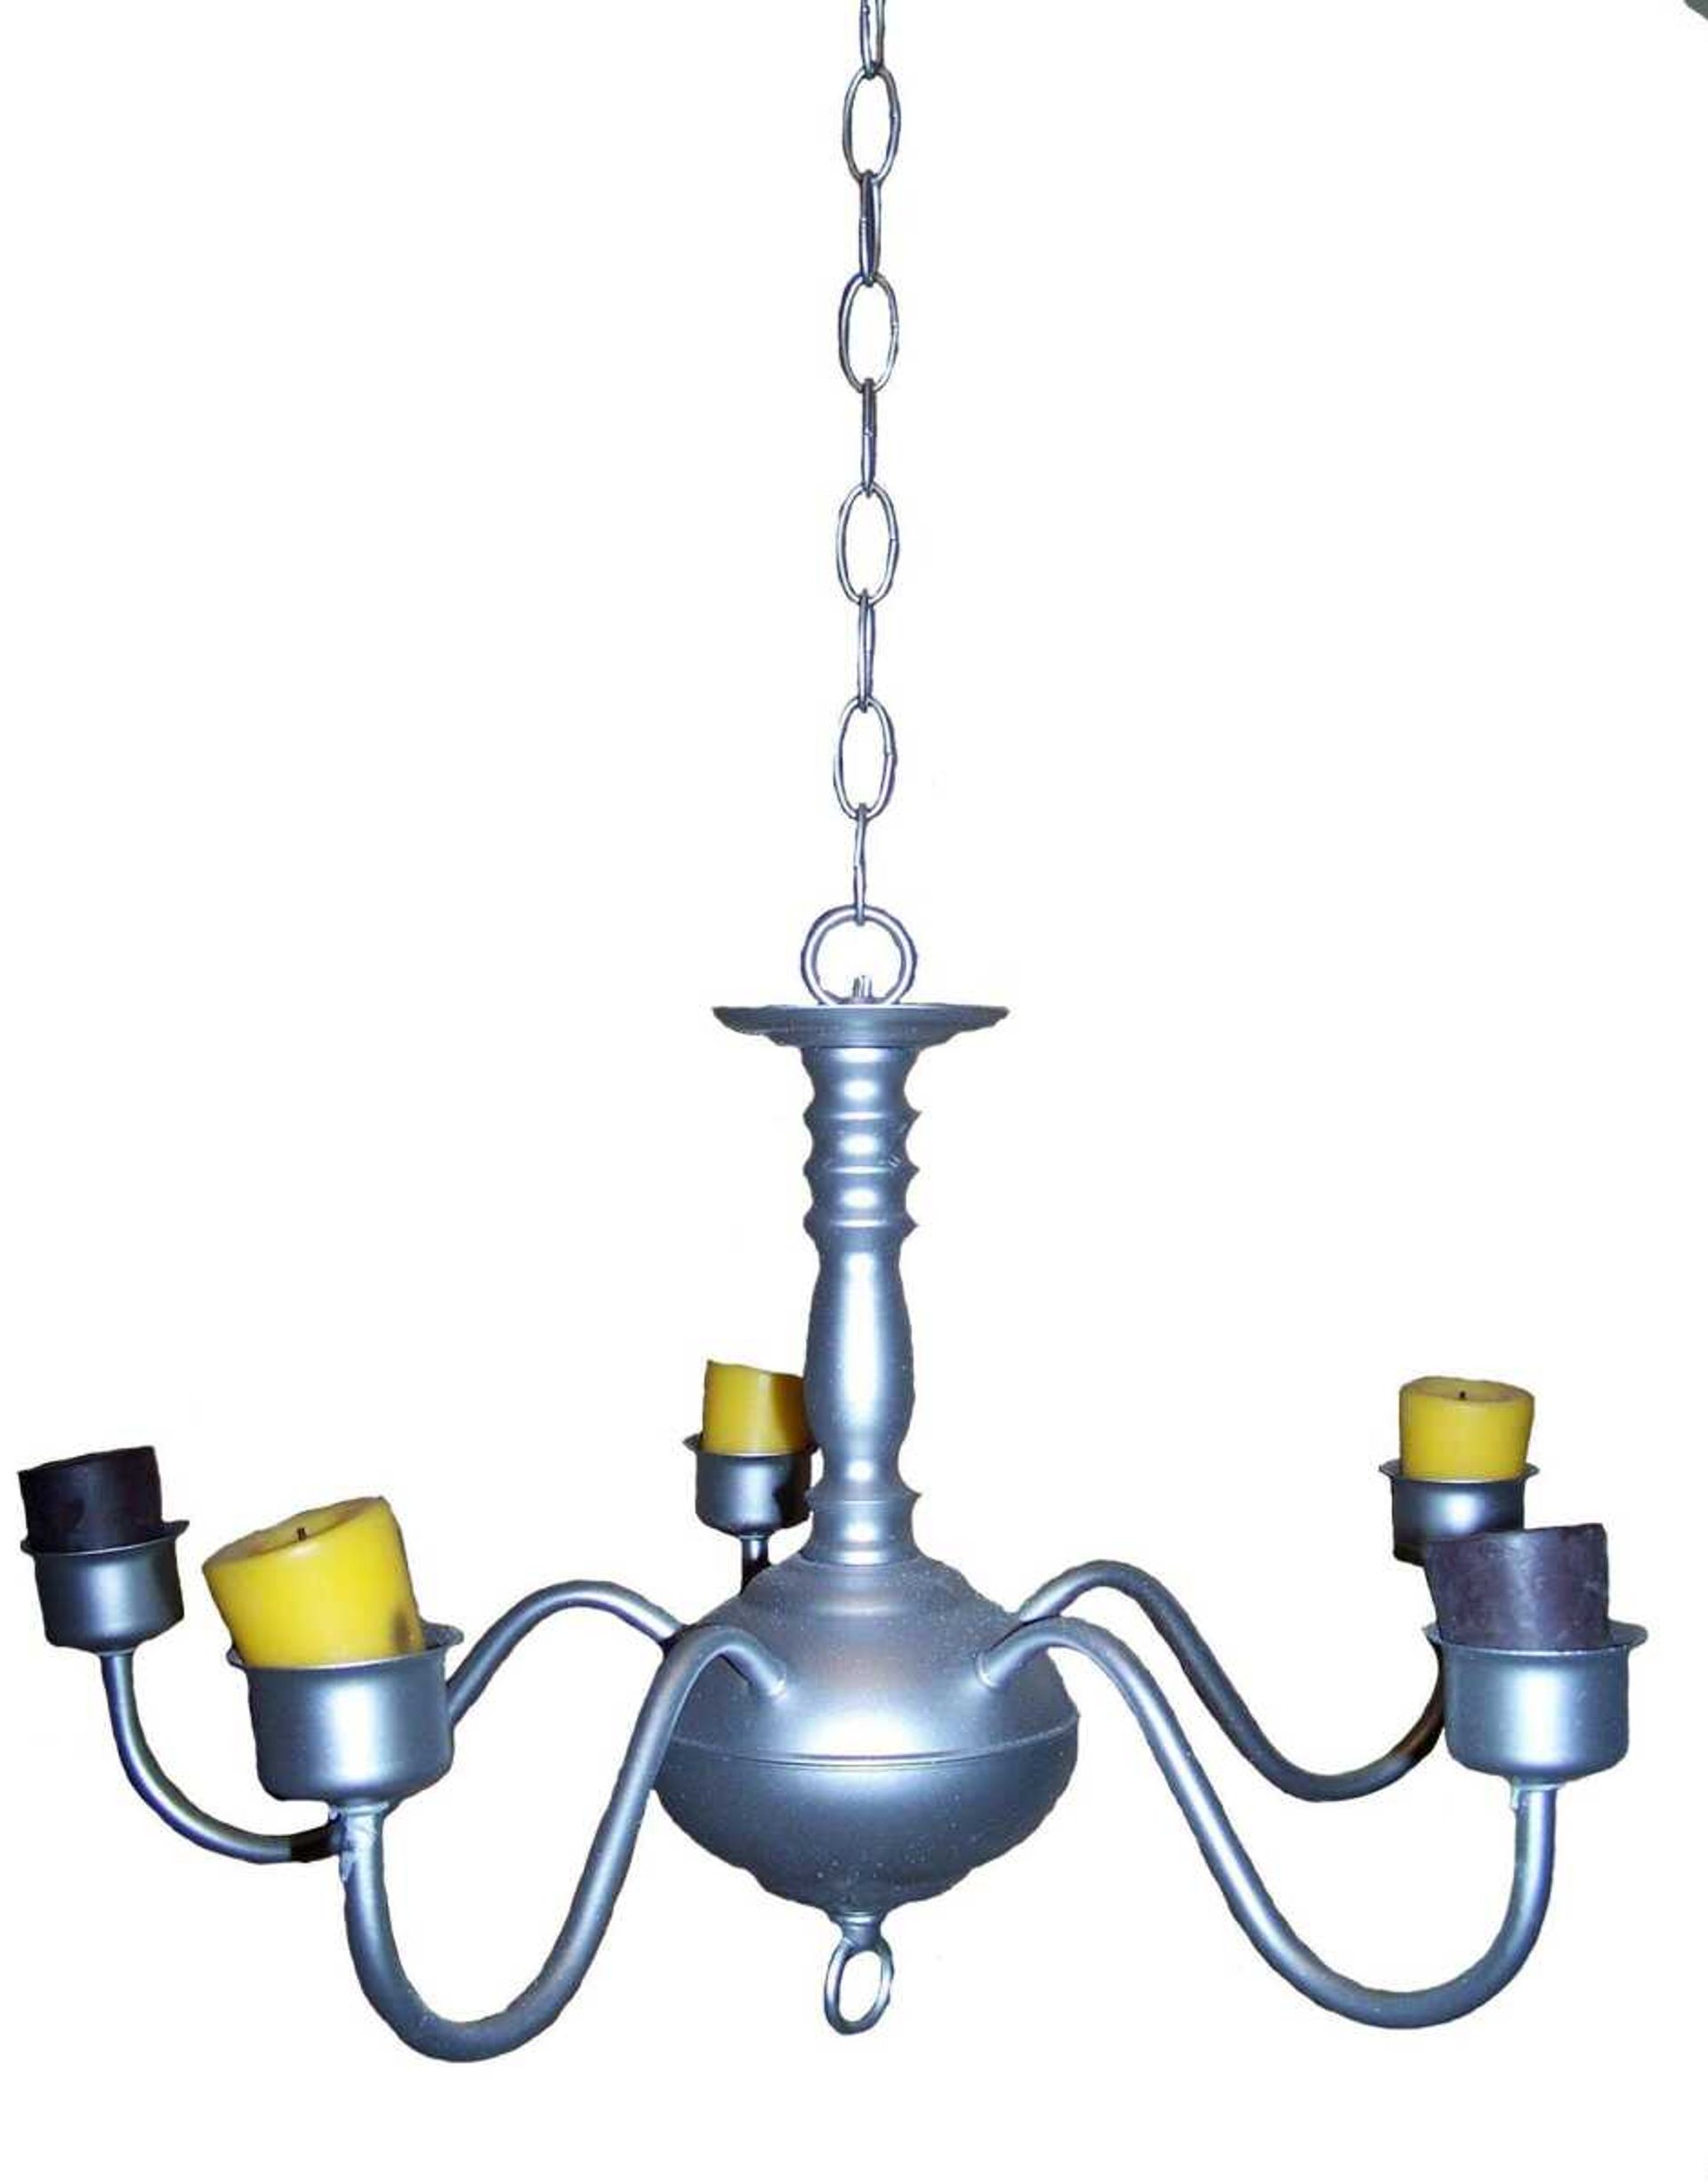
But the real highlight for me is a new decorative piece I've recently put together: a "candelier." I've just gotten it hung in the backyard and couldn't be happier with the results. Though it doesn't provide a whole lot of light, it does make a nice transition through dusk.
Here are some tips on how to make your own candelier:
Pick out a fixture
I was lucky that my mother recently decided to dump her old chandelier over the dining room table in lieu of an updated track lighting system. The chandelier was electric, with glass globes and a brass finish, but still had potential.
Yard sales and thrift stores are also great places to find interesting fixtures. Don't let the color or design worry you, as long as you can fit it in your vehicle to get home and it will hang well in your backyard. The only real requirement is that you have a place (either receptacles or ledges) to safely rest your candles.
Strip it down
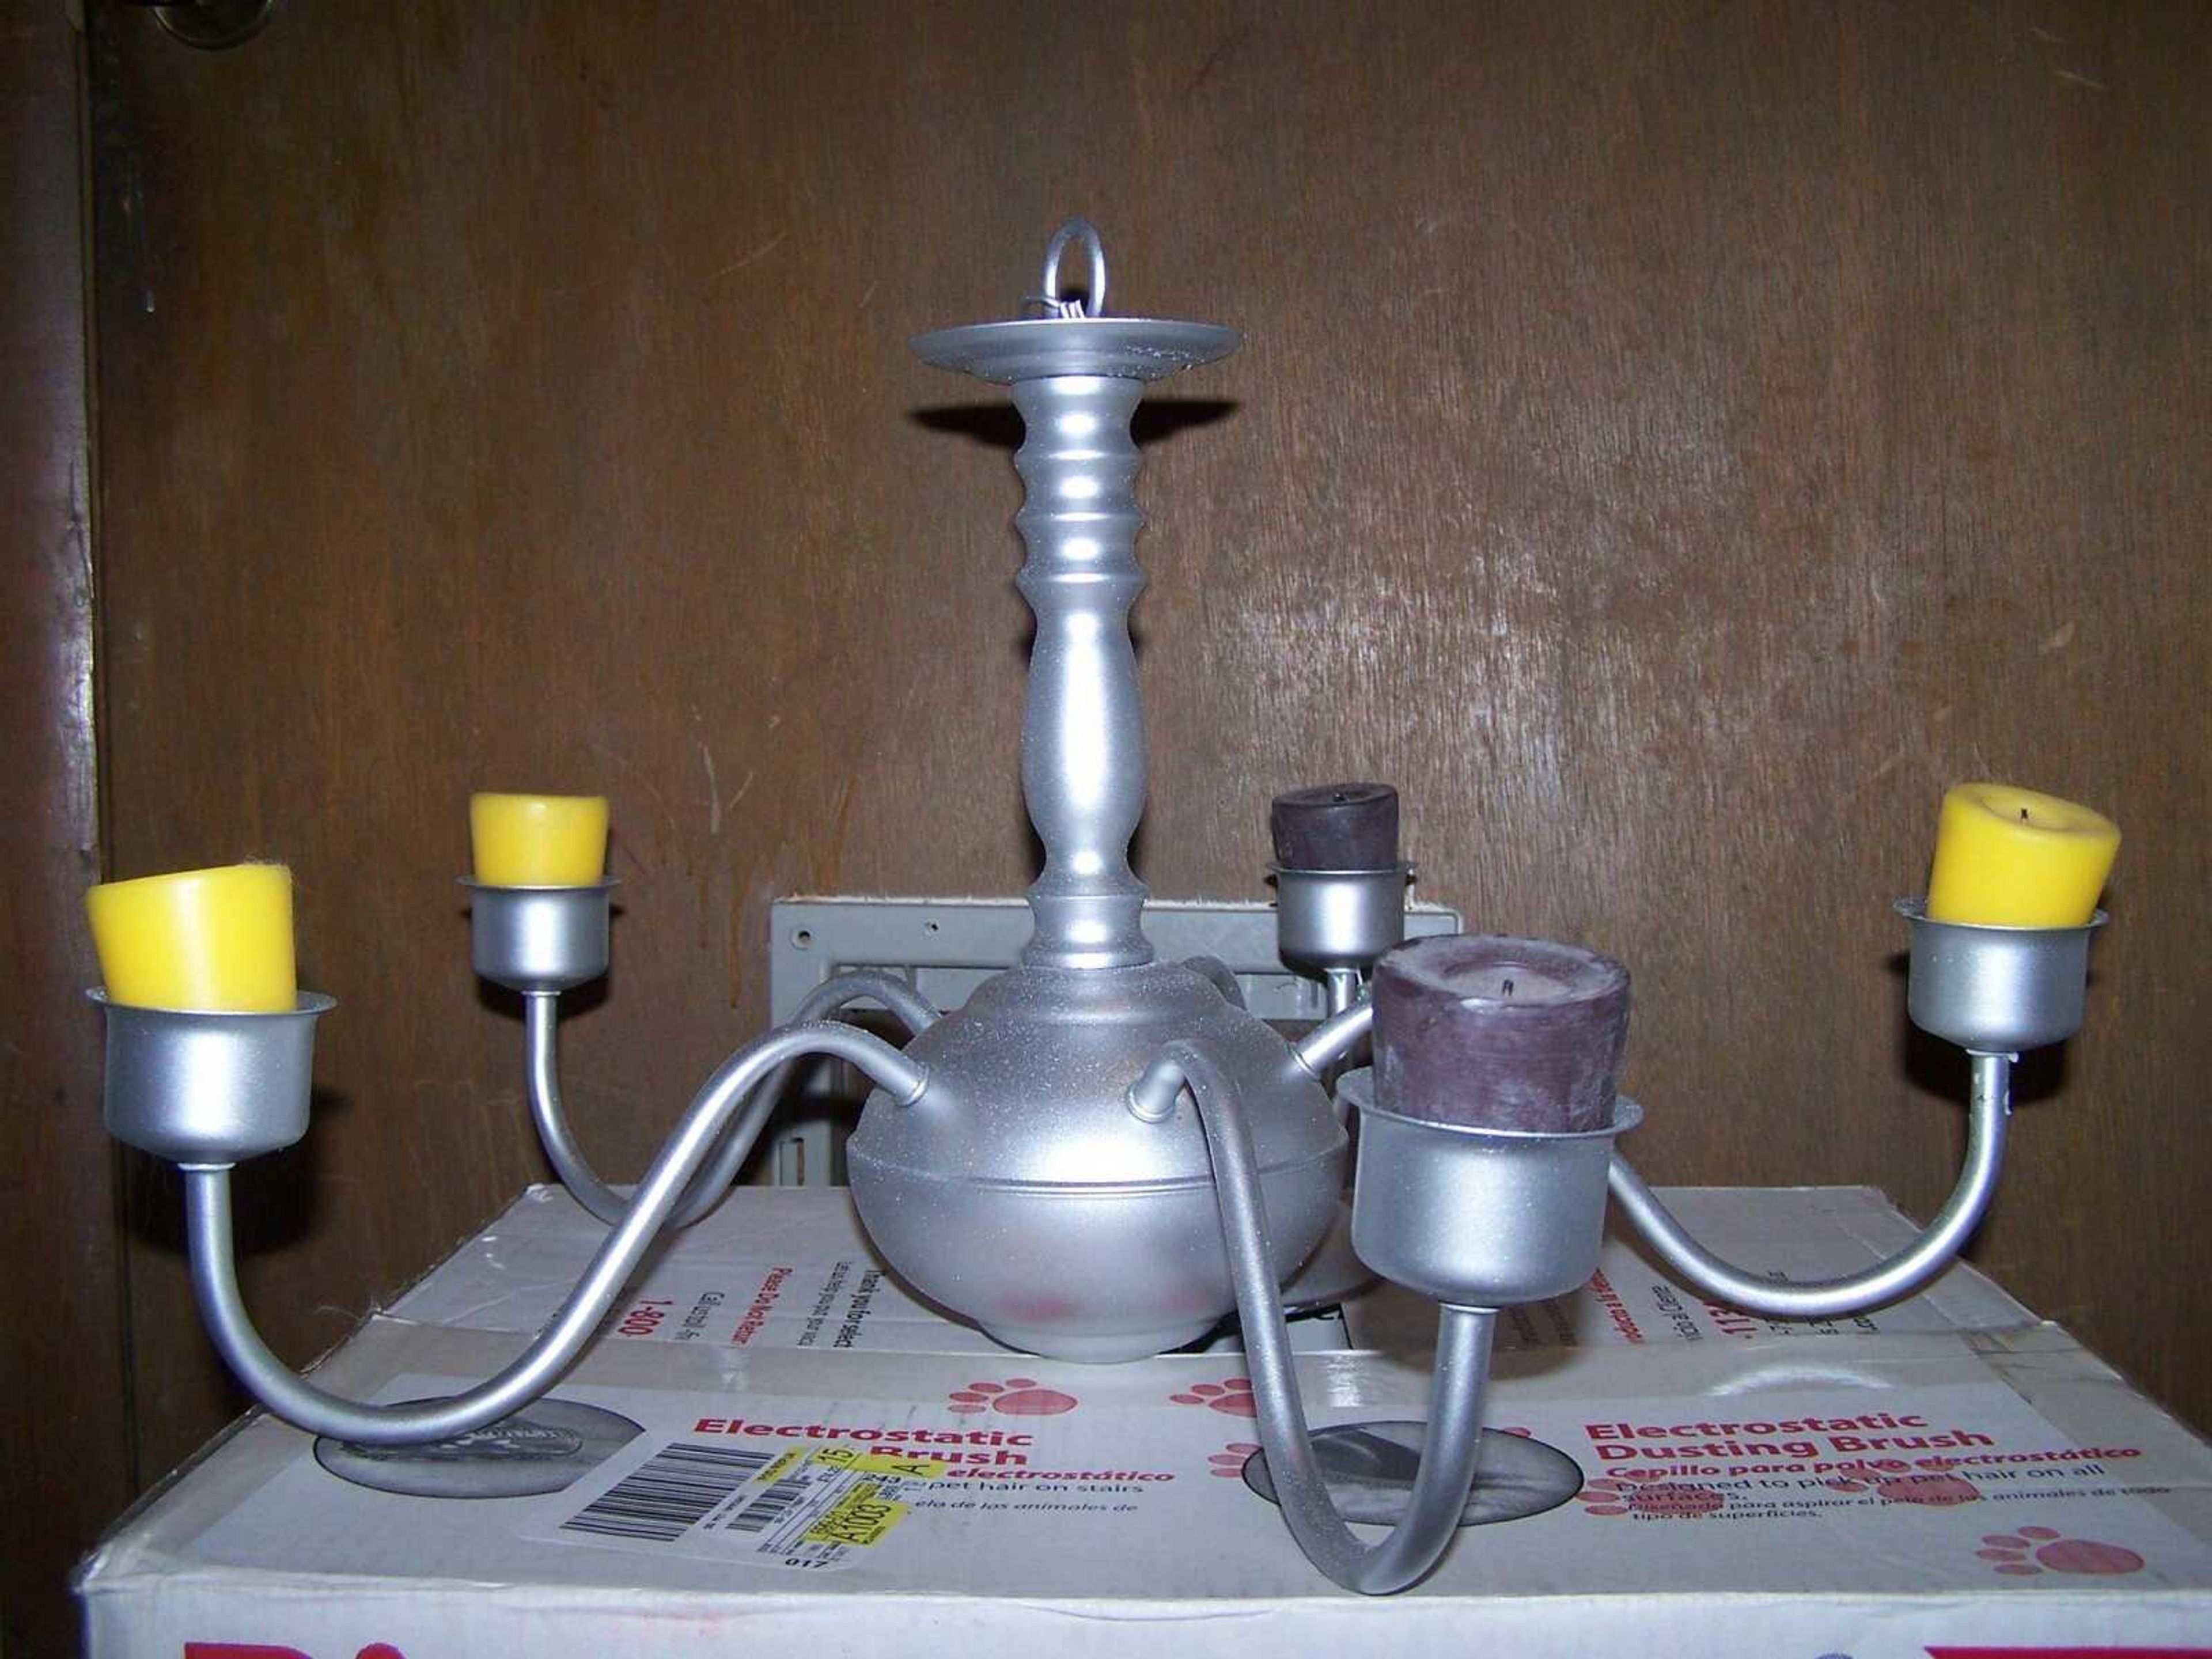
If you're converting an electric fixture, you'll need to do a little work on the wiring. I took a pair of wire cutters to the cords hanging from the top of the fixture. I also cut out the sockets that were in each extension of the chandelier. This gave me more room to place larger candles in the holes. Had I kept the socket in place, I would have been limited to taper candles (though you can do a lot with a good taper).
Now's a good time to evaluate the balance of your fixture. How well does it hang? Do you need to add weight to one side? How will you stabilize the fixture when you hang it in the yard? All of these decisions are best made early in the process when you can drill holes, scratch surfaces and drop things without lasting damage.
Make it yours

Brass is not my thing, so, after a good wash, I took some metallic spray paint to my chandelier and quickly gave it a more nickel finish. If you plan to keep your project in the weather year-round, make sure to spray it down with heavy-duty outdoor paint or protective clear coat.
This is also the time to add any embellishments (jewels, rope, decorative cord, ribbon, etc.). Just make sure that the embellishments can also withstand the weather and movement of the environment where you plan to hang the piece.
Light it up
Well, not literally. That will have to be done closer to party time. But now is a good time to place your candles in the fixture and make sure you've got everything in working order. Check to see that the height and width of your candles work with your piece and that there are no opportunities for flame to burn another portion of the fixture.
Hang it high
There are any number of ways to hang this fixture in your yard. I would suggest either hanging it from wires strung across your yard or from a tree overhanging your seating area. Either way, make sure the candles are clear of anything flammable (including branches and leaves) and -- most especially -- power lines.
My candelier has a nice, long chain to hang from, which helps it keep clear of the rest of the tree. It is a little heavy for the branch that hangs over my table, though, so I've reinforced it with a wire that runs from my back fence to the back of my house. This makes location of my candelier fairly permanent, but I can take it down during heavy wind or rain.
Let it shine
Now all that's left is to light the candles and welcome the guests. The candle may be a bit old fashioned, but my candelier is the hippest new party accessory.
Vanessa Cook is a former copy editor for the Southeast Missourian who dabbles in decorating.
Connect with the Southeast Missourian Newsroom:
For corrections to this story or other insights for the editor, click here. To submit a letter to the editor, click here. To learn about the Southeast Missourian’s AI Policy, click here.


