Winter herbs
In the past few weeks I have seen and heard a lot of discussion about herbs in the various forms of media. These discussions gave great information about herbs that enhance the taste of prepared foods, promote health and how you grow them outdoors in containers or in gardens...
In the past few weeks I have seen and heard a lot of discussion about herbs in the various forms of media. These discussions gave great information about herbs that enhance the taste of prepared foods, promote health and how you grow them outdoors in containers or in gardens.
Many of the popular herbs mentioned are annuals in the Heartland. That means they will not overwinter in our area. Others that are perennial often do not do well growing outside during the winter.
With these facts in mind, I would like to give you some hints on how to grow herbs indoors. This allows the cook to take just a few short steps and harvest fresh herbs for the dish he or she is preparing for dinner.
First, determine where you are going to place the growing herbs. Preferably it would be on a windowsill of a south-facing window. If this isn't possible, pick a place where you can shine a grow light on the pots you are growing.
The correct light is extremely important. Different wavelengths of sunlight trigger different chemical reactions during plant growth. So if you can't expose your growing herbs to sunlight, then use a grow light. A grow light was designed to mimic the wavelength combinations of the sun.

Light intensity is also important. If you use a grow light, place the light as close to the growing herbs as you can without causing leaf burn.
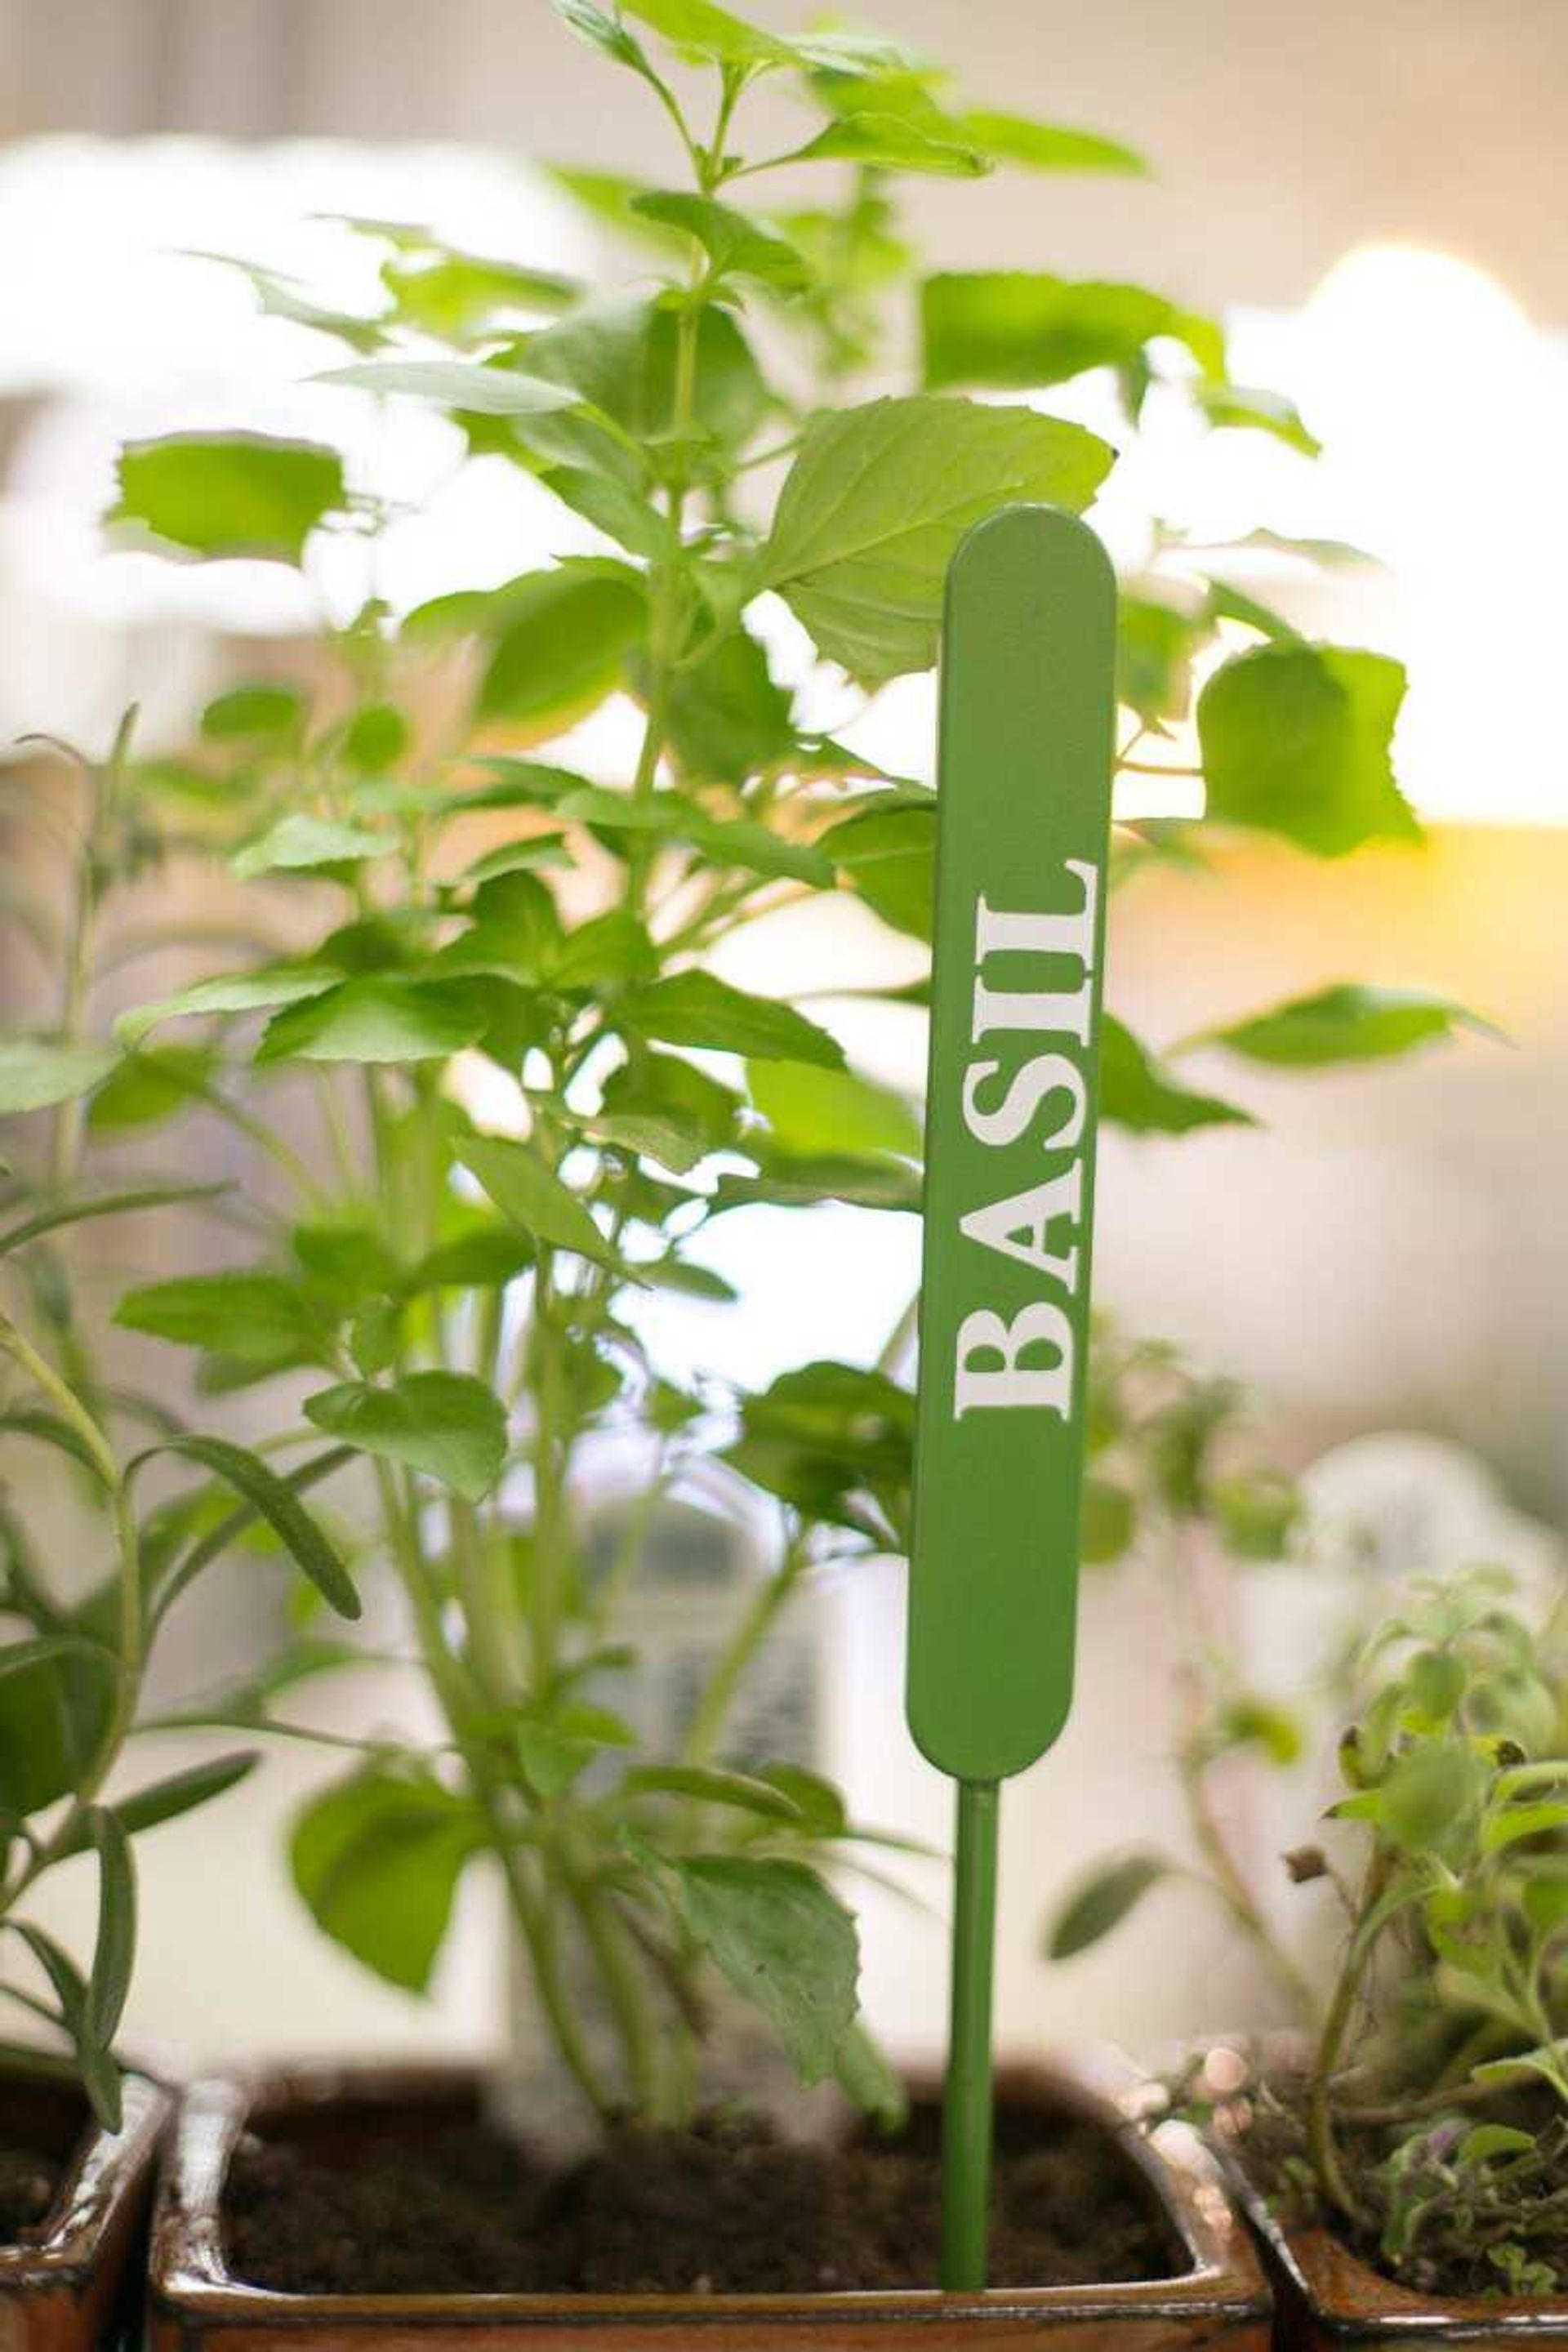
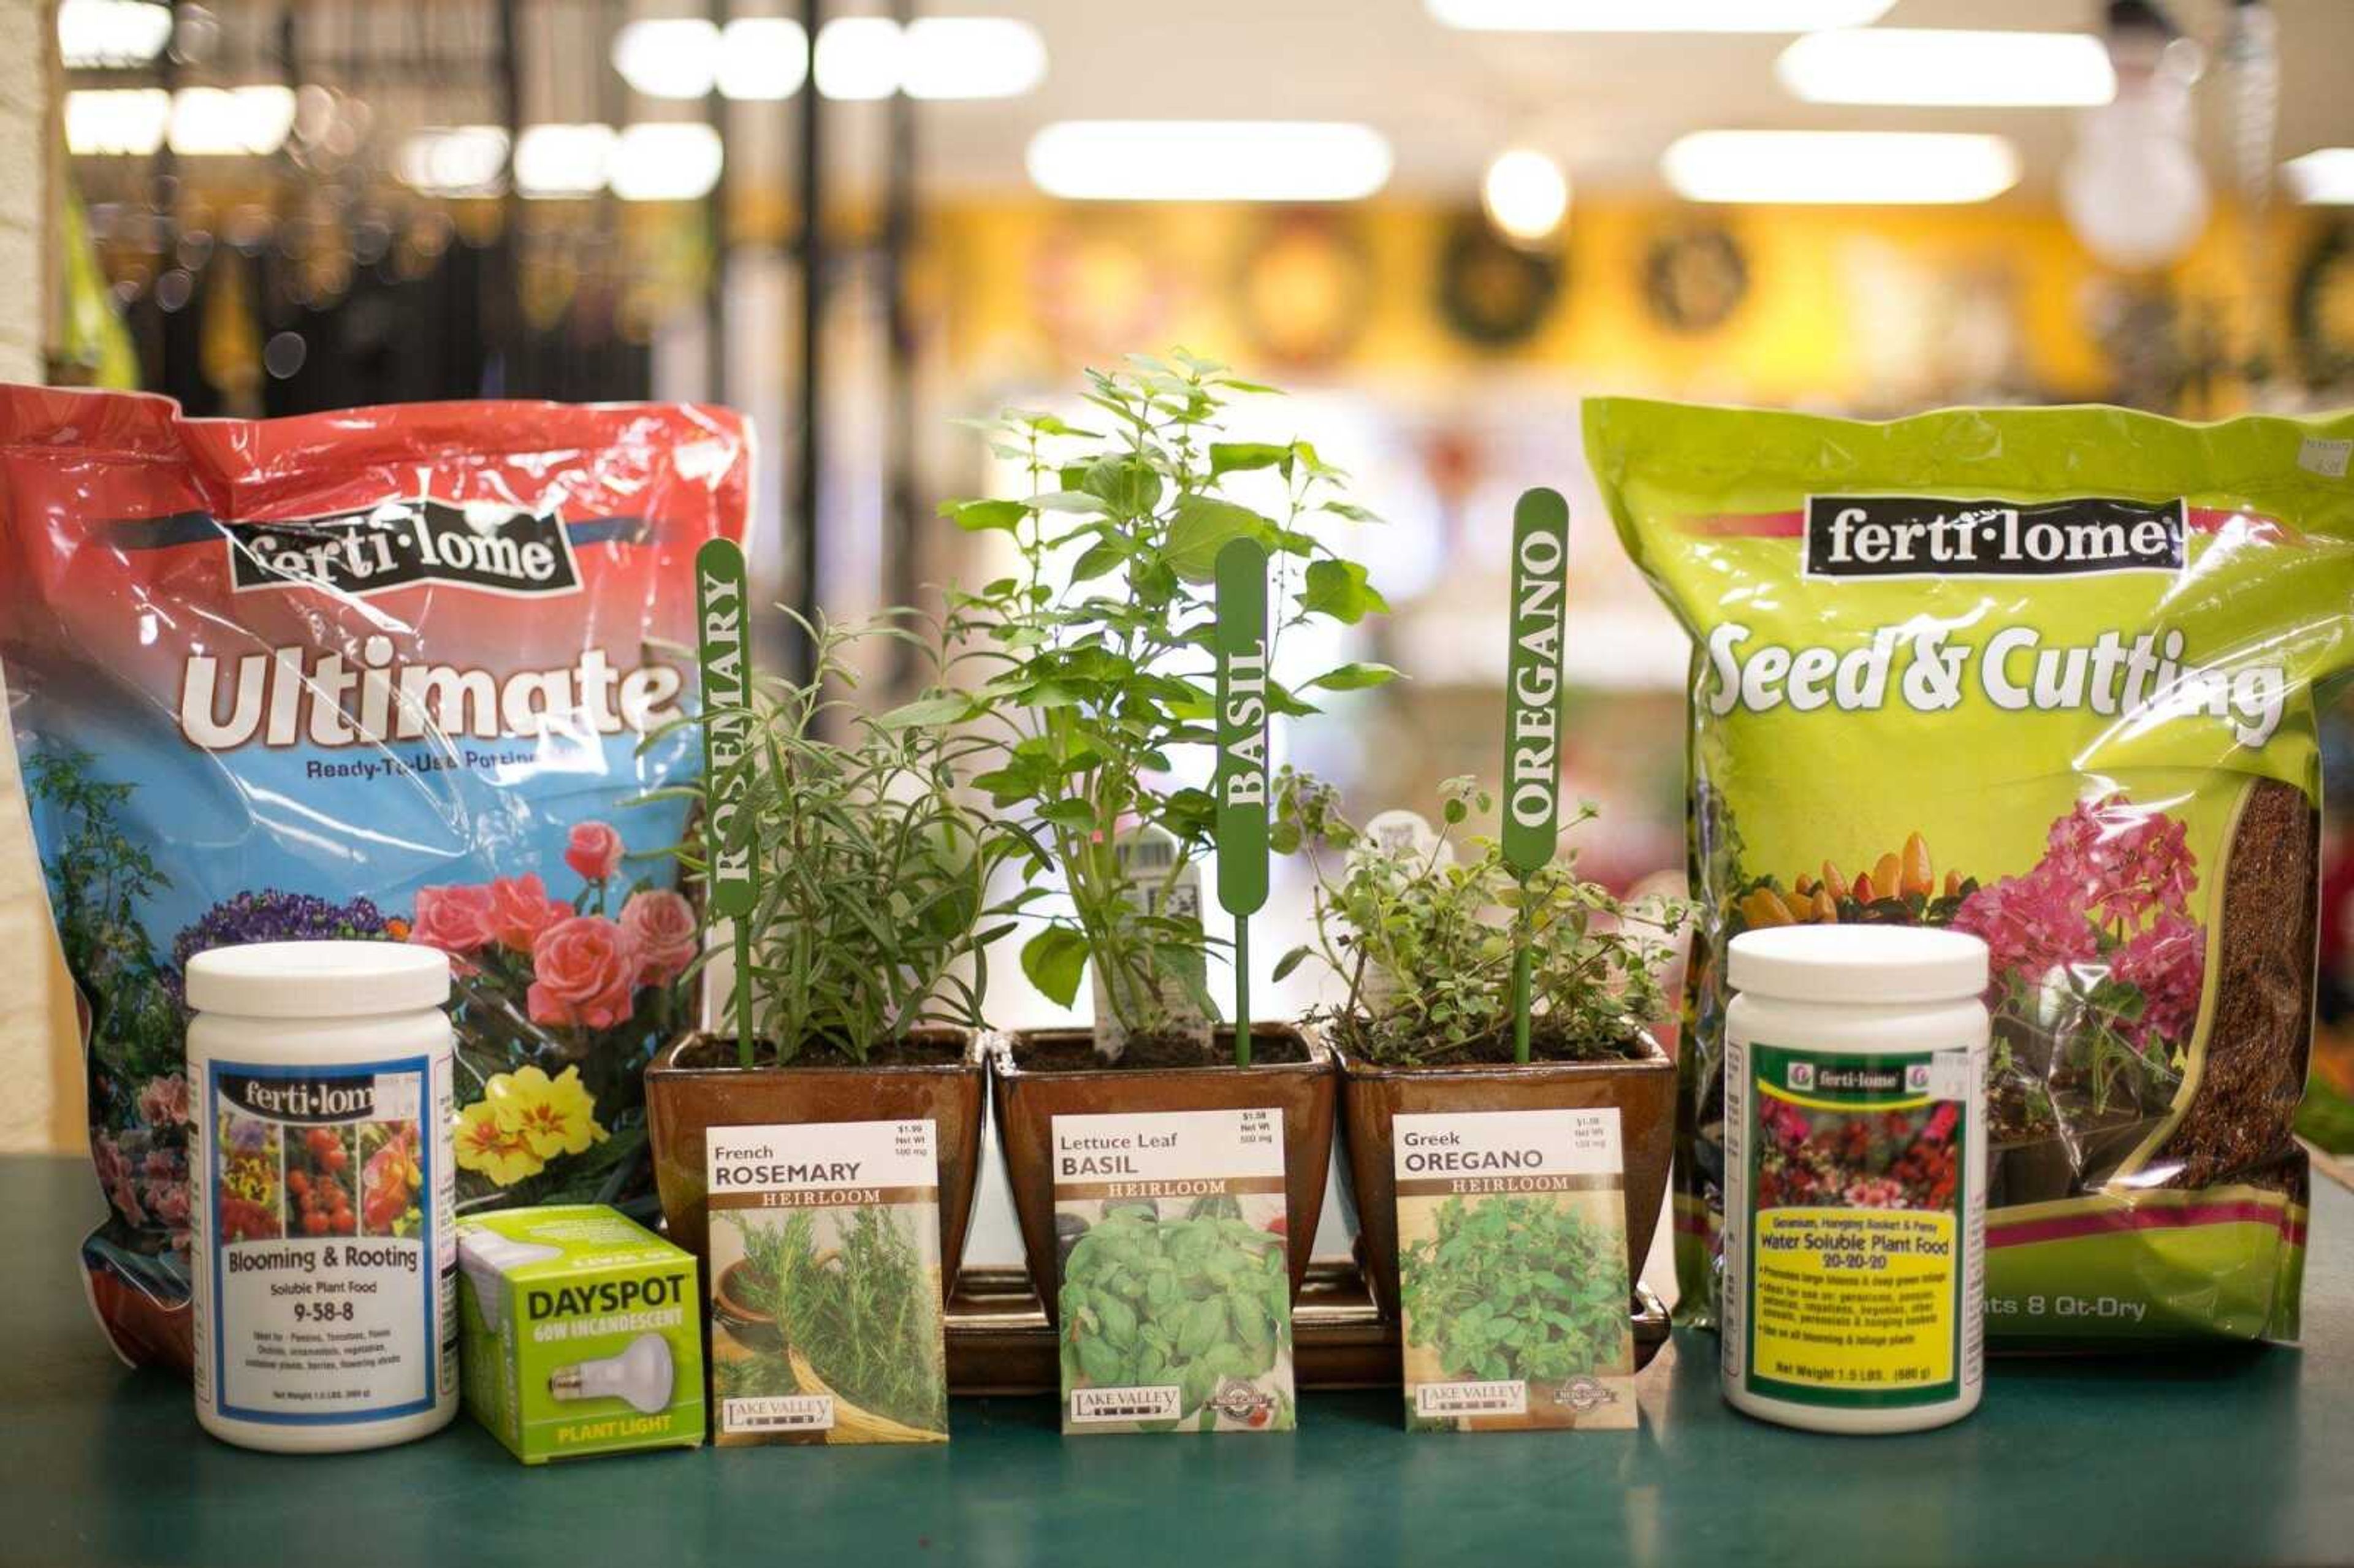
Next, go to your local garden center and see if you can find starter herb plants. You also will need to purchase a potting mix that has no moisture control or fertilizer in it.
Growing one's own herbs seems to be a growing trend, so you will probably be able to find some pots that are attractive and functional to grow the herbs in.
Now place some of the potting mix in each pot. Leave enough room to transplant the herb plants you purchased at the garden center. After transplanting, water the plants with a soluble fertilizer solution of 9-58-8. The high phosphorous content (the middle number) will tell the newly planted herb to spend most of its energy to start growing roots.
Now place the pots under the grow light or in the window. Check the soil daily with your finger. When you find the soil drying out, water again thoroughly with the fertilizer-water combination. I like to place the pot I am going to water in the kitchen sink and then water it. After watering, I let the pot stay in the sink for 30 minutes to let any excess water drain out. If the soil stays too wet too long, then root rot will set in.
Once the transplanted plants are well established in the pots, you can begin to harvest and enjoy the flavoring of the dishes you cook.
If you can't find plants, then select herb seeds. Select pots as before. This time fill the pots with a soil-starting mix instead of a potting mix. Place the herb seeds about 1/4 inch below the soil surface, then water the soil as indicated above. Within a few days the seeds should germinate. Again, water after that only when you test the soil with your finger and find the soil is getting dry.
After the new seedlings have grown to mature size, alternate the 9-58-8 fertilizer with a 20-20-20 fertilizer on an every-three-weeks basis.
The high phosphorous fertilizer will keep the root system strong, while the balanced fertilizer will tell the herb plant to grow a good strong crown for harvesting.
All that is left for you to do is enjoy cooking with the fresh herbs growing in your kitchen.
Connect with the Southeast Missourian Newsroom:
For corrections to this story or other insights for the editor, click here. To submit a letter to the editor, click here. To learn about the Southeast Missourian’s AI Policy, click here.


