FeaturesMarch 15, 2006
Stranded decor: Hippie-inspired decor brightens apartment living
The downfall of apartment living is always feeling sandwiched between someone else's walls. No matter how many times you look at your bare walls there's nothing most renters can do to change the typically eggshell-colored walls of a rental...

The downfall of apartment living is always feeling sandwiched between someone else's walls.
No matter how many times you look at your bare walls there's nothing most renters can do to change the typically eggshell-colored walls of a rental.
You can only hang so much and of a particular size before the holes in the wall start costing you. If you're willing to risk your deposit to add a splash of bold color you could also risk a roof over your head when the landlord pops in to fix that ever-present leak.
And all that effort gets left behind when you inevitably head to your next domain.
After apartment hopping at least 12 times in the past eight years I got tired of walls without personality. To give my white walls a little umph I've pulled out a standby from the 1960s and given it a new twist.
The beaded curtain is synonymous with smoke-filled alcoves and sitar music. Walking through the clicking shells or beads transported you to another world. As the decades progressed the curtains also evolved to meet the fad-induced needs of the teenage consumer.
By the time I hit ninth grade smileys and neon disks were obscuring goings-on across the nation.
While I never jumped on the bandwagon, the look of the beaded curtain always appealed to me. More than a mere door, the curtains gave a texture to what was previously a simple vertical plane.
At my first post-college apartment I began to think about beaded curtains as I debated what to do with the plate-glass window that consumed the front wall of my house. My main source of light was that grand opening but, being a slightly renovated storefront, that light was accompanied by lots of peeks into my domicile.
To give those inadvertent peeping toms something else to stare at I began stringing buttons and bells on fishing line to hang from the curtain rod.
Each strand is simple to make. Just cut the fishing line to the height of what you're covering plus two feet. Then start stringing. I try to space my baubles about every two to three inches.
For buttons, thread the fishing line through at least two holes. The gauge of the line will keep most buttons in place but you can also knot each one. For single-hole buttons and bells it's important to loop the strand through and knot it to keep things from sliding around.
To hang the finished line, simply loop the strand over a vertically hung rod and tie a knot.
Receive Daily Headlines FREESign up today!
Though I only lasted a couple more months at that place, the button strands have been reincarnated in three more apartments. Currently they hang from copper tubing along my bathroom wall.
At first glance the wall looks like it's covered in hundreds of multi-colored polka dots. For $10 ($5 for 500 buttons and $5 for fishing line) I've got portable wall art with attitude.
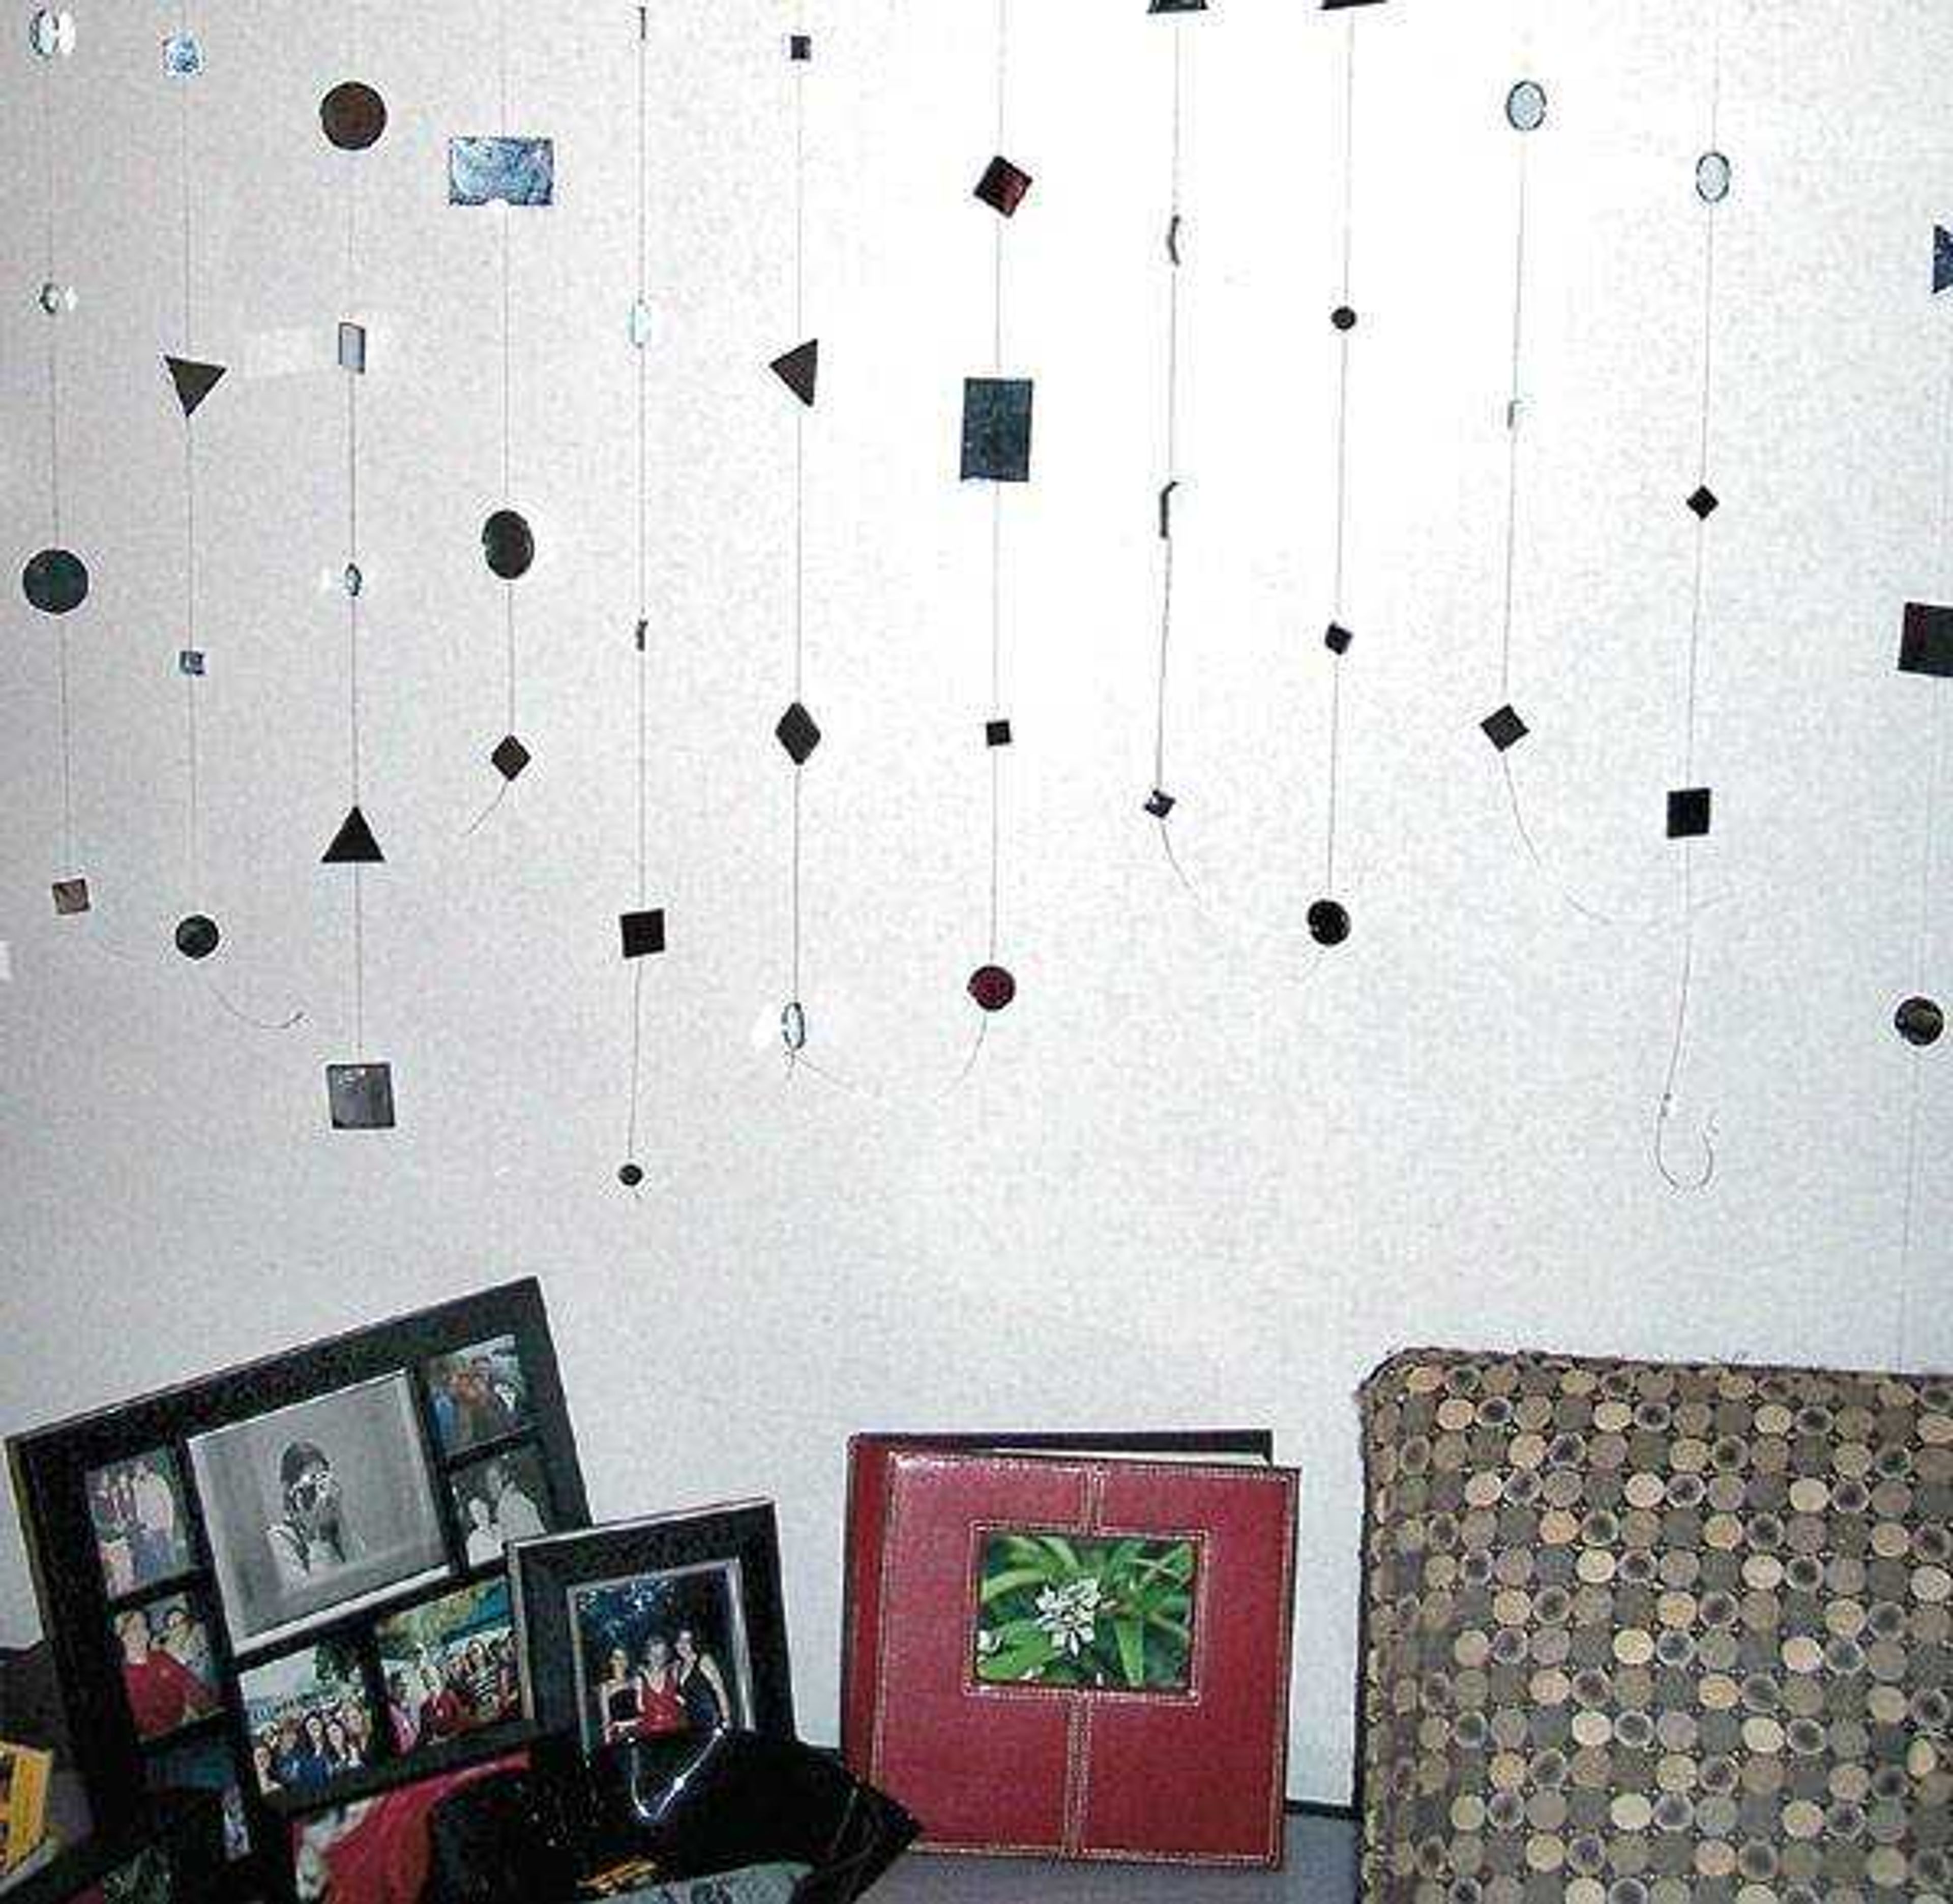
The success of the button strands led me to think of more wall decorating ideas based on the same theme. With my penchant for 1950s furniture I was struck by the clean lines of geometric mirrors I found at the craft store.
Eight long nights and about $100 later I had glimmering strands that never fail to draw oohs and aahs.
A little less random than my button designs, it's important to keep a count of how many of each shape of mirror you have. The mirrors generally come in the following: three sizes of circles, 3 sizes of squares, 2 sizes of triangles and a large rectangle.
The general plan for piecing together a strand starts with attaching one mirror to a length of fishing line using a small piece of tape. A second mirror of the same size and shape is super-glued to the back of the first mirror. When allowed to set for 48 hours most of the mirrors will hold fiercely. Repeat the process for each strand.
Because you're hanging roughly 16 mirrors to each strand it's important to anchor them to the wall well. My setup involves screwing eyelets 12 inches apart along the wall about an inch from the ceiling.
Then I took a length of fishing line and ran it through the eyelets. At each eyelet I looped the line through twice to give it more support. Each strand can be hung on the vertical line by simply looping around the line and tying a knot.
Sometimes thinking out of the box can keep someone else's walls from closing in on you.
~ Vanessa Cook is a former Southeast Missourian copy editor who dabbles in decorating.
---
Make it happen
- My buttons are randomly selected but you can work magic with a single color in different sizes and shades. You might even find a lot of matching buttons that will give you a uniform look.
- Get creative with your hanging rod. I've used fishing line, a curtain rod and copper tubing to name a few. I've also considered bamboo and plumbing pipe. Anything that gives support will work.
- Try not to hang too many strands per foot. Crowding your strands together will make it difficult to see the beauty of each individual element. My rule of thumb is three strands per foot. This is especially important with mirrors as the weight can be tricky.
- Buttons and mirrors aren't the end. Try stringing wine corks or fortunes from Asian takeout. Old earrings perhaps? There are a million things out there to catch a guest's eye, they just have to catch yours first.
Story Tags
Connect with the Southeast Missourian Newsroom:
For corrections to this story or other insights for the editor, click here. To submit a letter to the editor, click here. To learn about the Southeast Missourian’s AI Policy, click here.
Related


Advertisement
Receive Daily Headlines FREESign up today!
