FeaturesNovember 3, 2010
No need to suffer in silence with pie crust phobia
With holiday pie season upon us, it's easy to be intimidated into outsourcing your crusts. Face it, buying a boxed, refrigerated or frozen crust is easier and faster. Too bad it doesn't taste better. Because if you want a truly wonderful pie crust, something truly worthy of the trouble you will go to when making the filling, the only way to go is to make your own. And with our quick introduction to pie crust technique and styles, it will be much easier than you think...
By ALISON LADMAN ~ The Associated Press
With holiday pie season upon us, it's easy to be intimidated into outsourcing your crusts.
Face it, buying a boxed, refrigerated or frozen crust is easier and faster. Too bad it doesn't taste better.
Because if you want a truly wonderful pie crust, something truly worthy of the trouble you will go to when making the filling, the only way to go is to make your own. And with our quick introduction to pie crust technique and styles, it will be much easier than you think.
Lesson No. 1
There are four basic styles of crust, and each works best with different types of fillings.

CRUMB: Crumb crusts are the easiest to master. They require no rolling. It's just a matter of making a crumbly mixture (often from ground up cookies) and pressing it into a pie pan.
Graham cracker crusts are one of the most common of this style. But you also can use chocolate or vanilla wafer cookies, butter or shortbread cookies, or even sandwich cookies. You even can add toasted and chopped nuts or spices to add additional flavor.
And as the name suggests, these crusts are crumbly and dry. They are best used with fillings that have a bit of heft and body (in other words, that don't rely on the crust for structure), such as cheesecake, icebox pies and firm-set fruit pies.
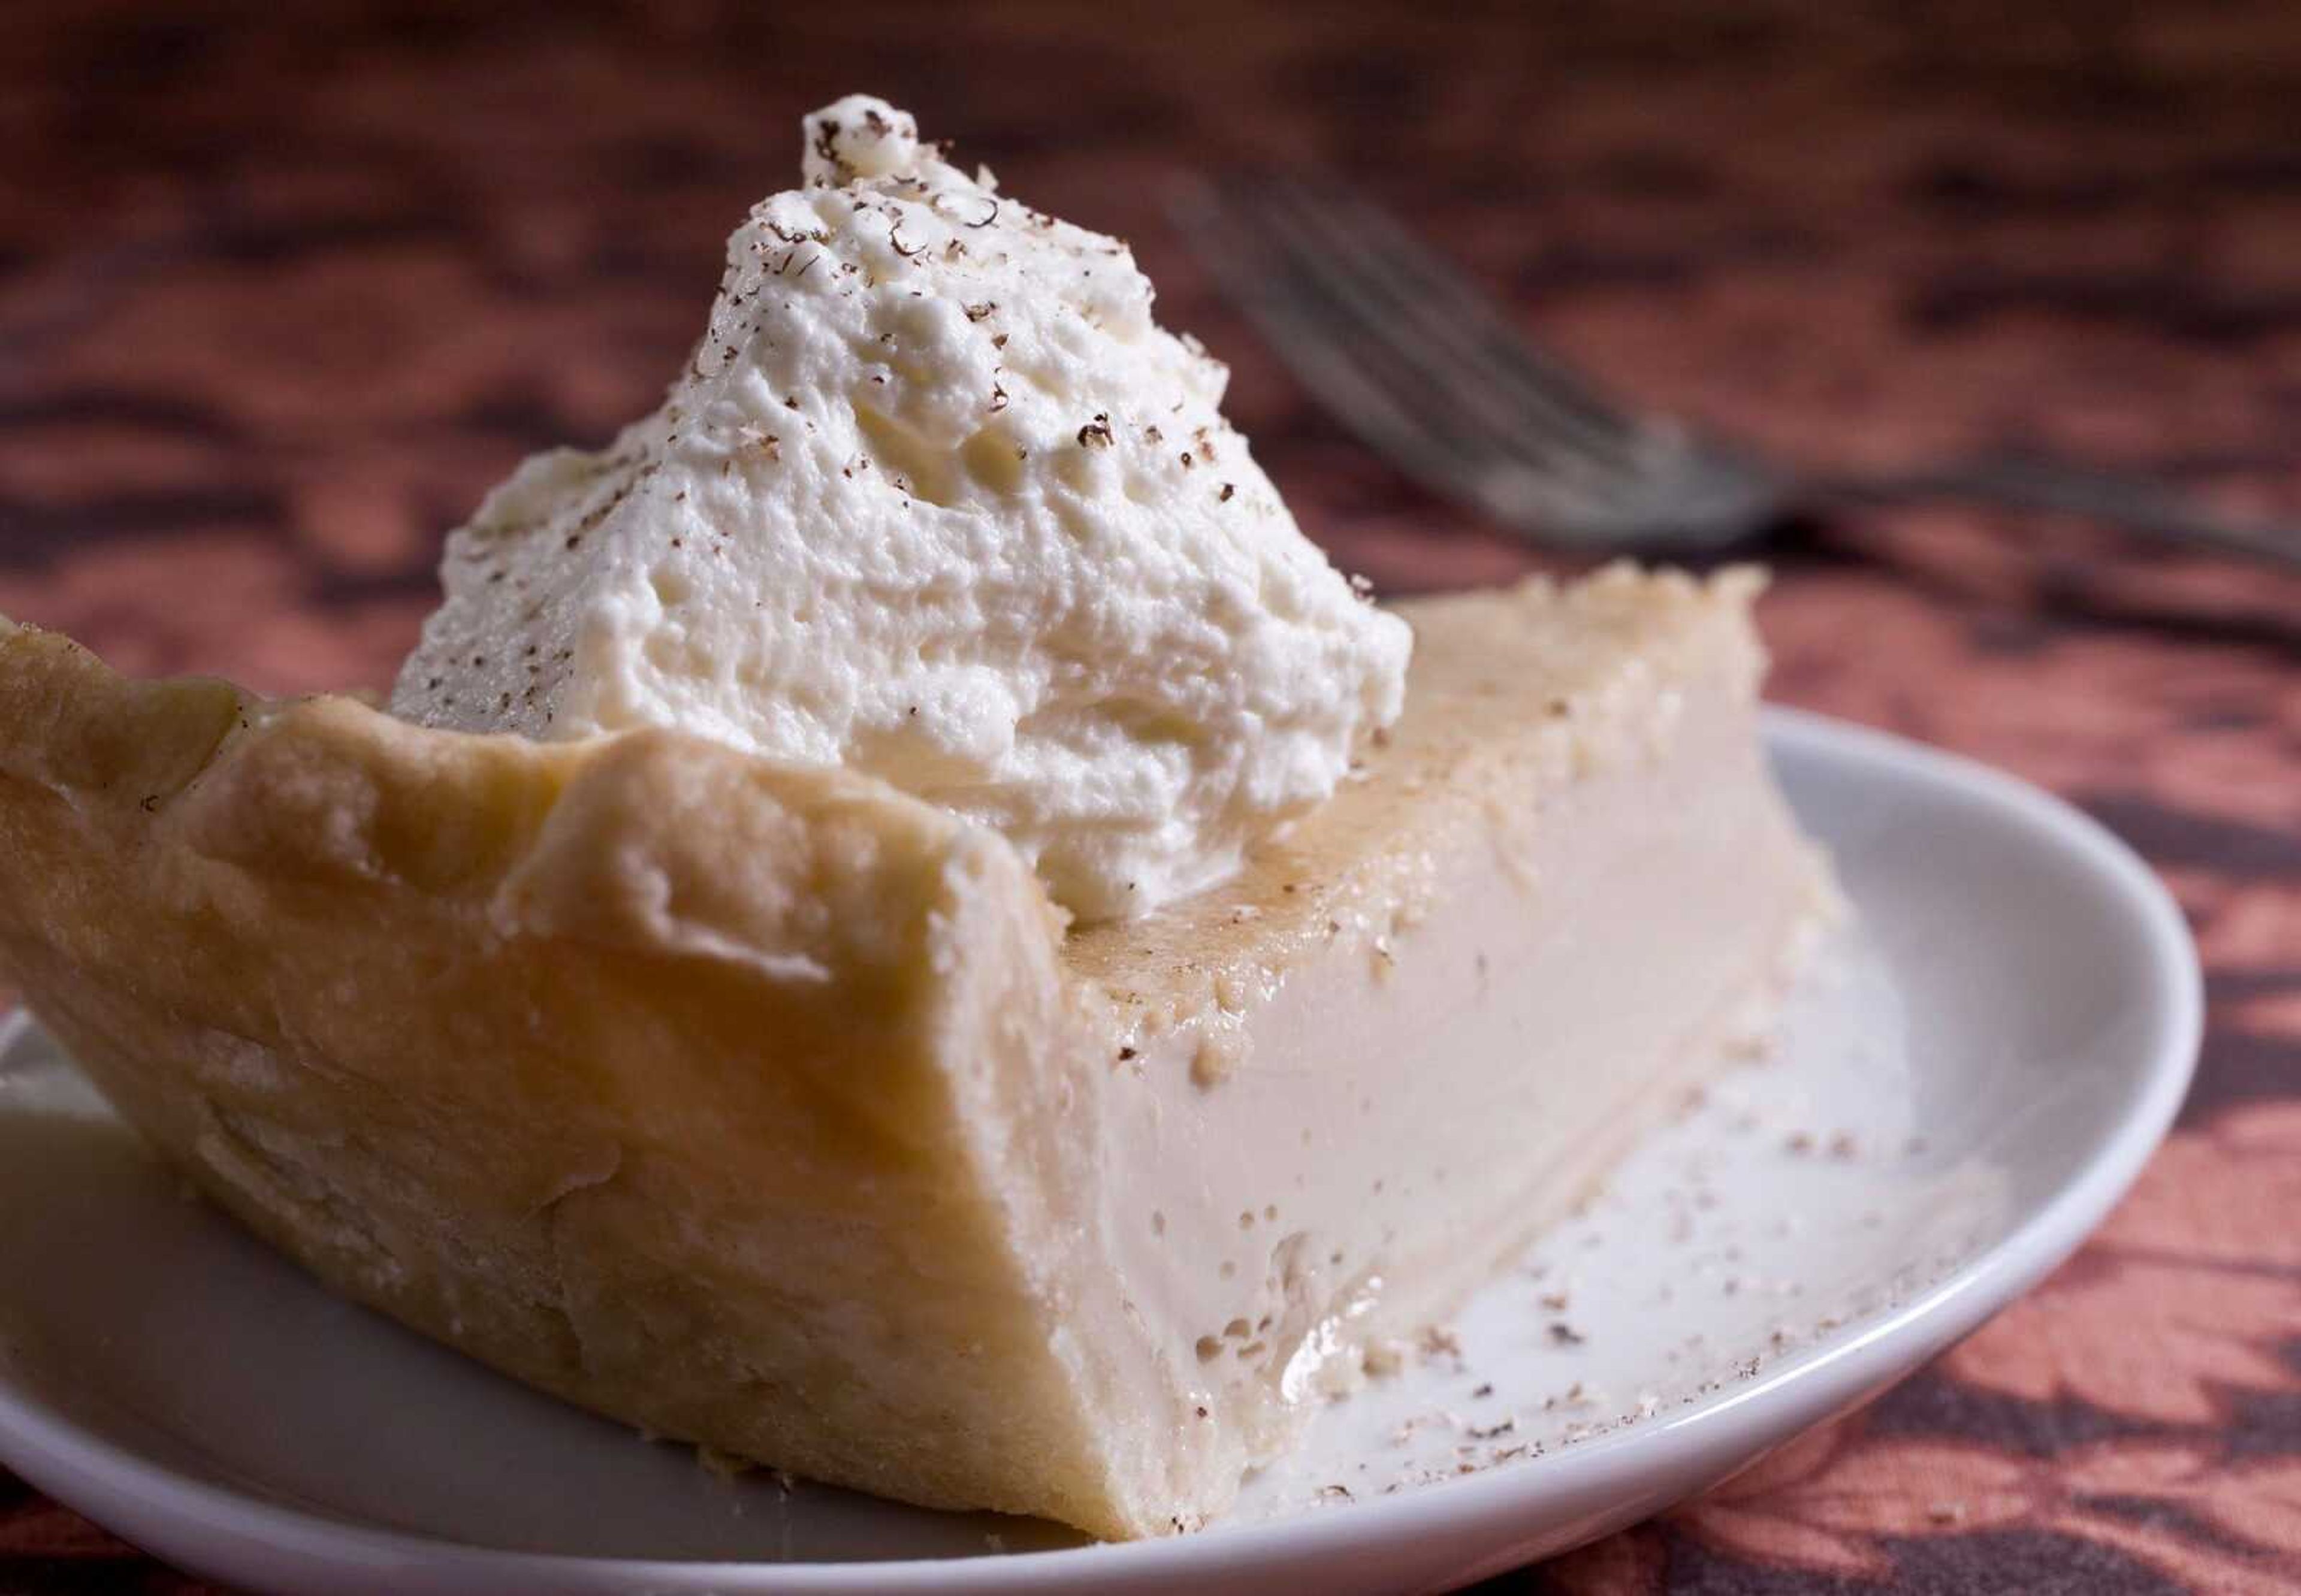
MEALY: Mealy pie crusts are the sturdiest. They stand up to even very moist fillings, such as custards, and most fruits, such as berries and apple. They also work well for savory pies, such as quiche. They also are easy to assemble and work. The fat is evenly blended into the flour either by hand or with a food processor. This allows the pie crust to be rolled out easily, moved easily and crimped and finished without a lot of tearing. This crust doesn't tend to have a lot of texture after baking, but is used as more of a carrier for the filling.
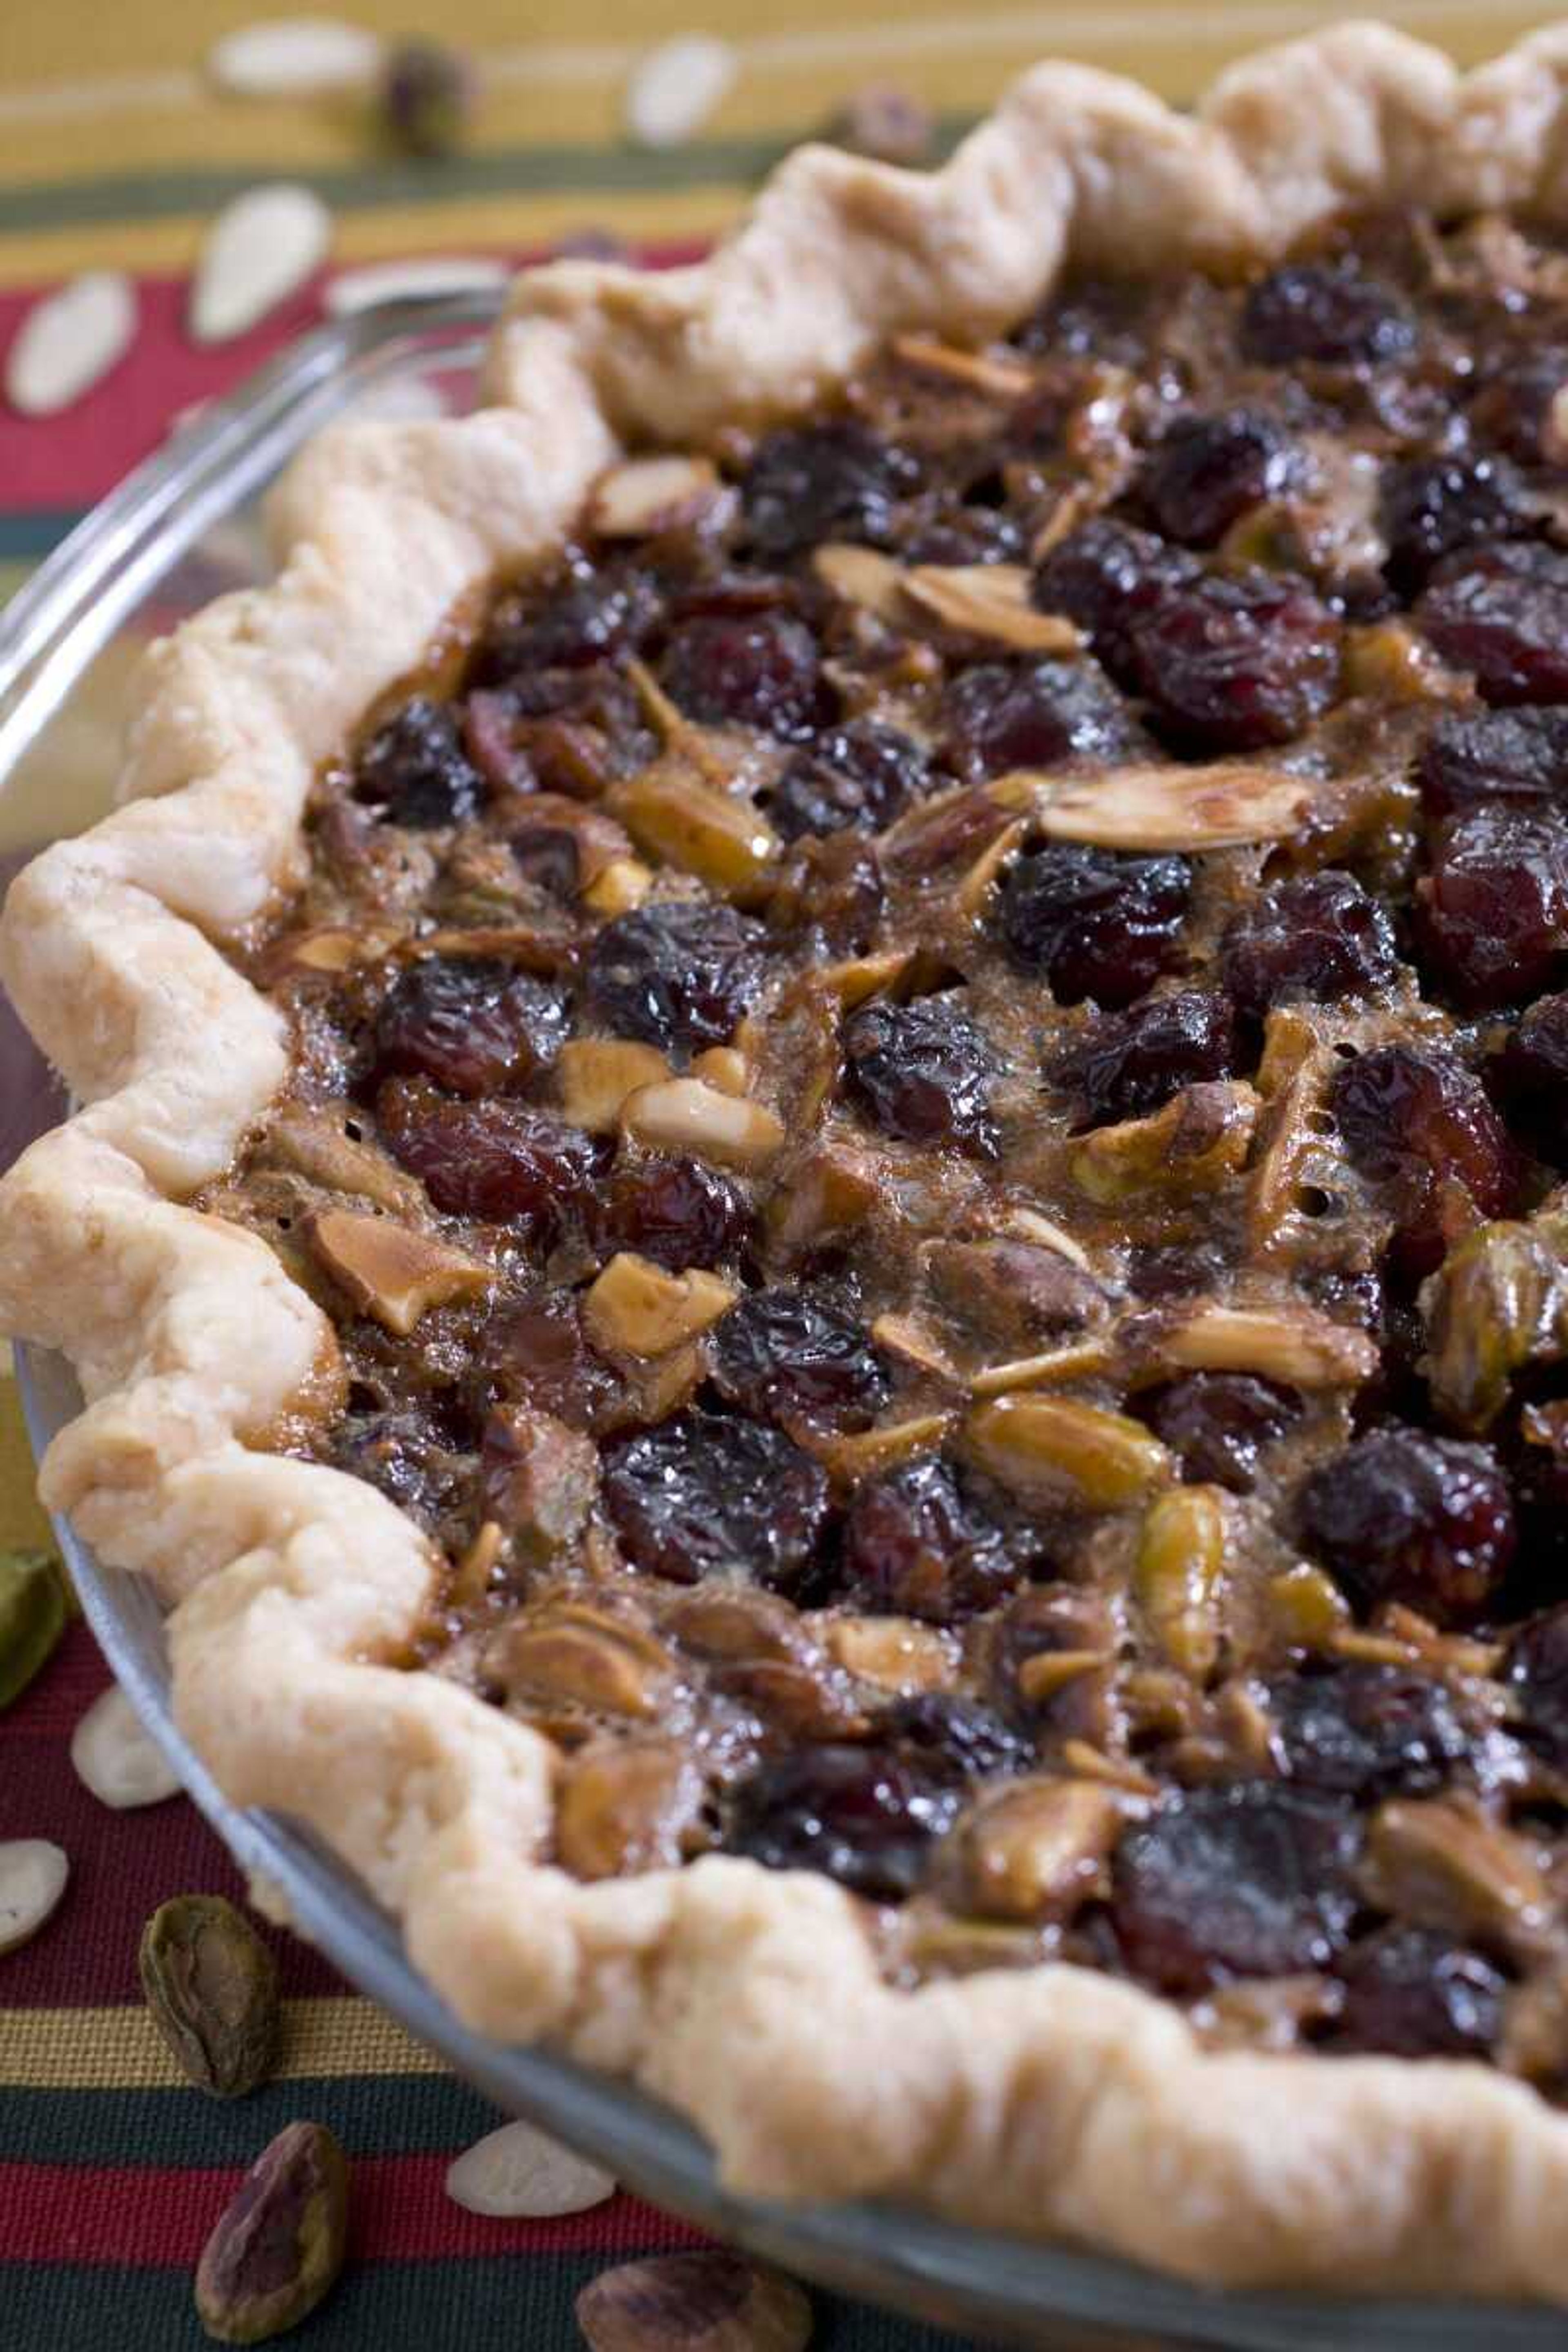
FLAKY: Flaky pie crusts take a bit more technique to pull off well, but the results are delicious. The flakes are made by smearing fat into the dough in layers. It is not fully blended as in mealy crusts. It's a great choice for sweet and savory fillings, such as firm fruit, pecan and meat pies. It does not hold up to particularly wet fillings, such as cherry or custard pies.
The dough needs to remain chilled both while being worked with as well as just before going into the oven. A flaky dough that is not properly chilled will shrink during baking and be tough.
SWEET: This pie crust dough sometimes is called a cookie crust, not because it is made from cookies, but because the dough is assembled in a mixer as you would a drop cookie. The result is tender and delicate, similar to a crumbly butter cookie. This crust is best for sweet fillings.
The dough is somewhat delicate and is prone to tearing. But it is easy to pinch back together. It also works well being pressed into a tart pan.
Lesson No. 2
Flaky, mealy and cookie crusts must be rolled, then fitted into a pie or tart pan. Crumb crusts are dumped into the pan, then pressed into place.
To roll a crust, it is best to start with chilled dough that has been allowed to rest after mixing. The resting allows the protein (called gluten) in the flour to relax. This prevents the dough from shrinking as you roll. Resting also allows the moisture in the dough to be absorbed (thereby requiring less flour on your counter and pin, and making a more tender crust).
Start by lightly dusting your counter and pin with flour. Place your dough on the counter and roll from the center, turning it every couple of rolls to prevent sticking and to keep it round. Hold your pie pan over the dough to test to see if it's big enough. The dough should extend about 2 inches beyond the pie pan all the way around.
To transfer the dough from the counter to the pie pan, fold it in half, then again to form quarters. Gently lift the dough and place it in the pan, with the point at the center. Unfold carefully to fully cover and fill the pie pan.
Receive Daily Headlines FREESign up today!
If it tears, patch it with scrap dough from the side. Pie dough is pretty forgiving if it's at the right temperature. If it gets too warm, put it back in the refrigerator (or freezer) for a few minutes. If it's too cold, let it sit on the counter for a few minutes.
Lesson No. 3
Flaky, mealy and cookie crusts need to be edged.
When to edge is determined by the number of crusts used in each pie.
For double crust pies (meaning there is a bottom crust, a filling, then a top crust), the pie should be filled, then topped with the second crust before the edges are crimped. For a single crust pie (there is no top crust), the crimping should be done before the filling is added.
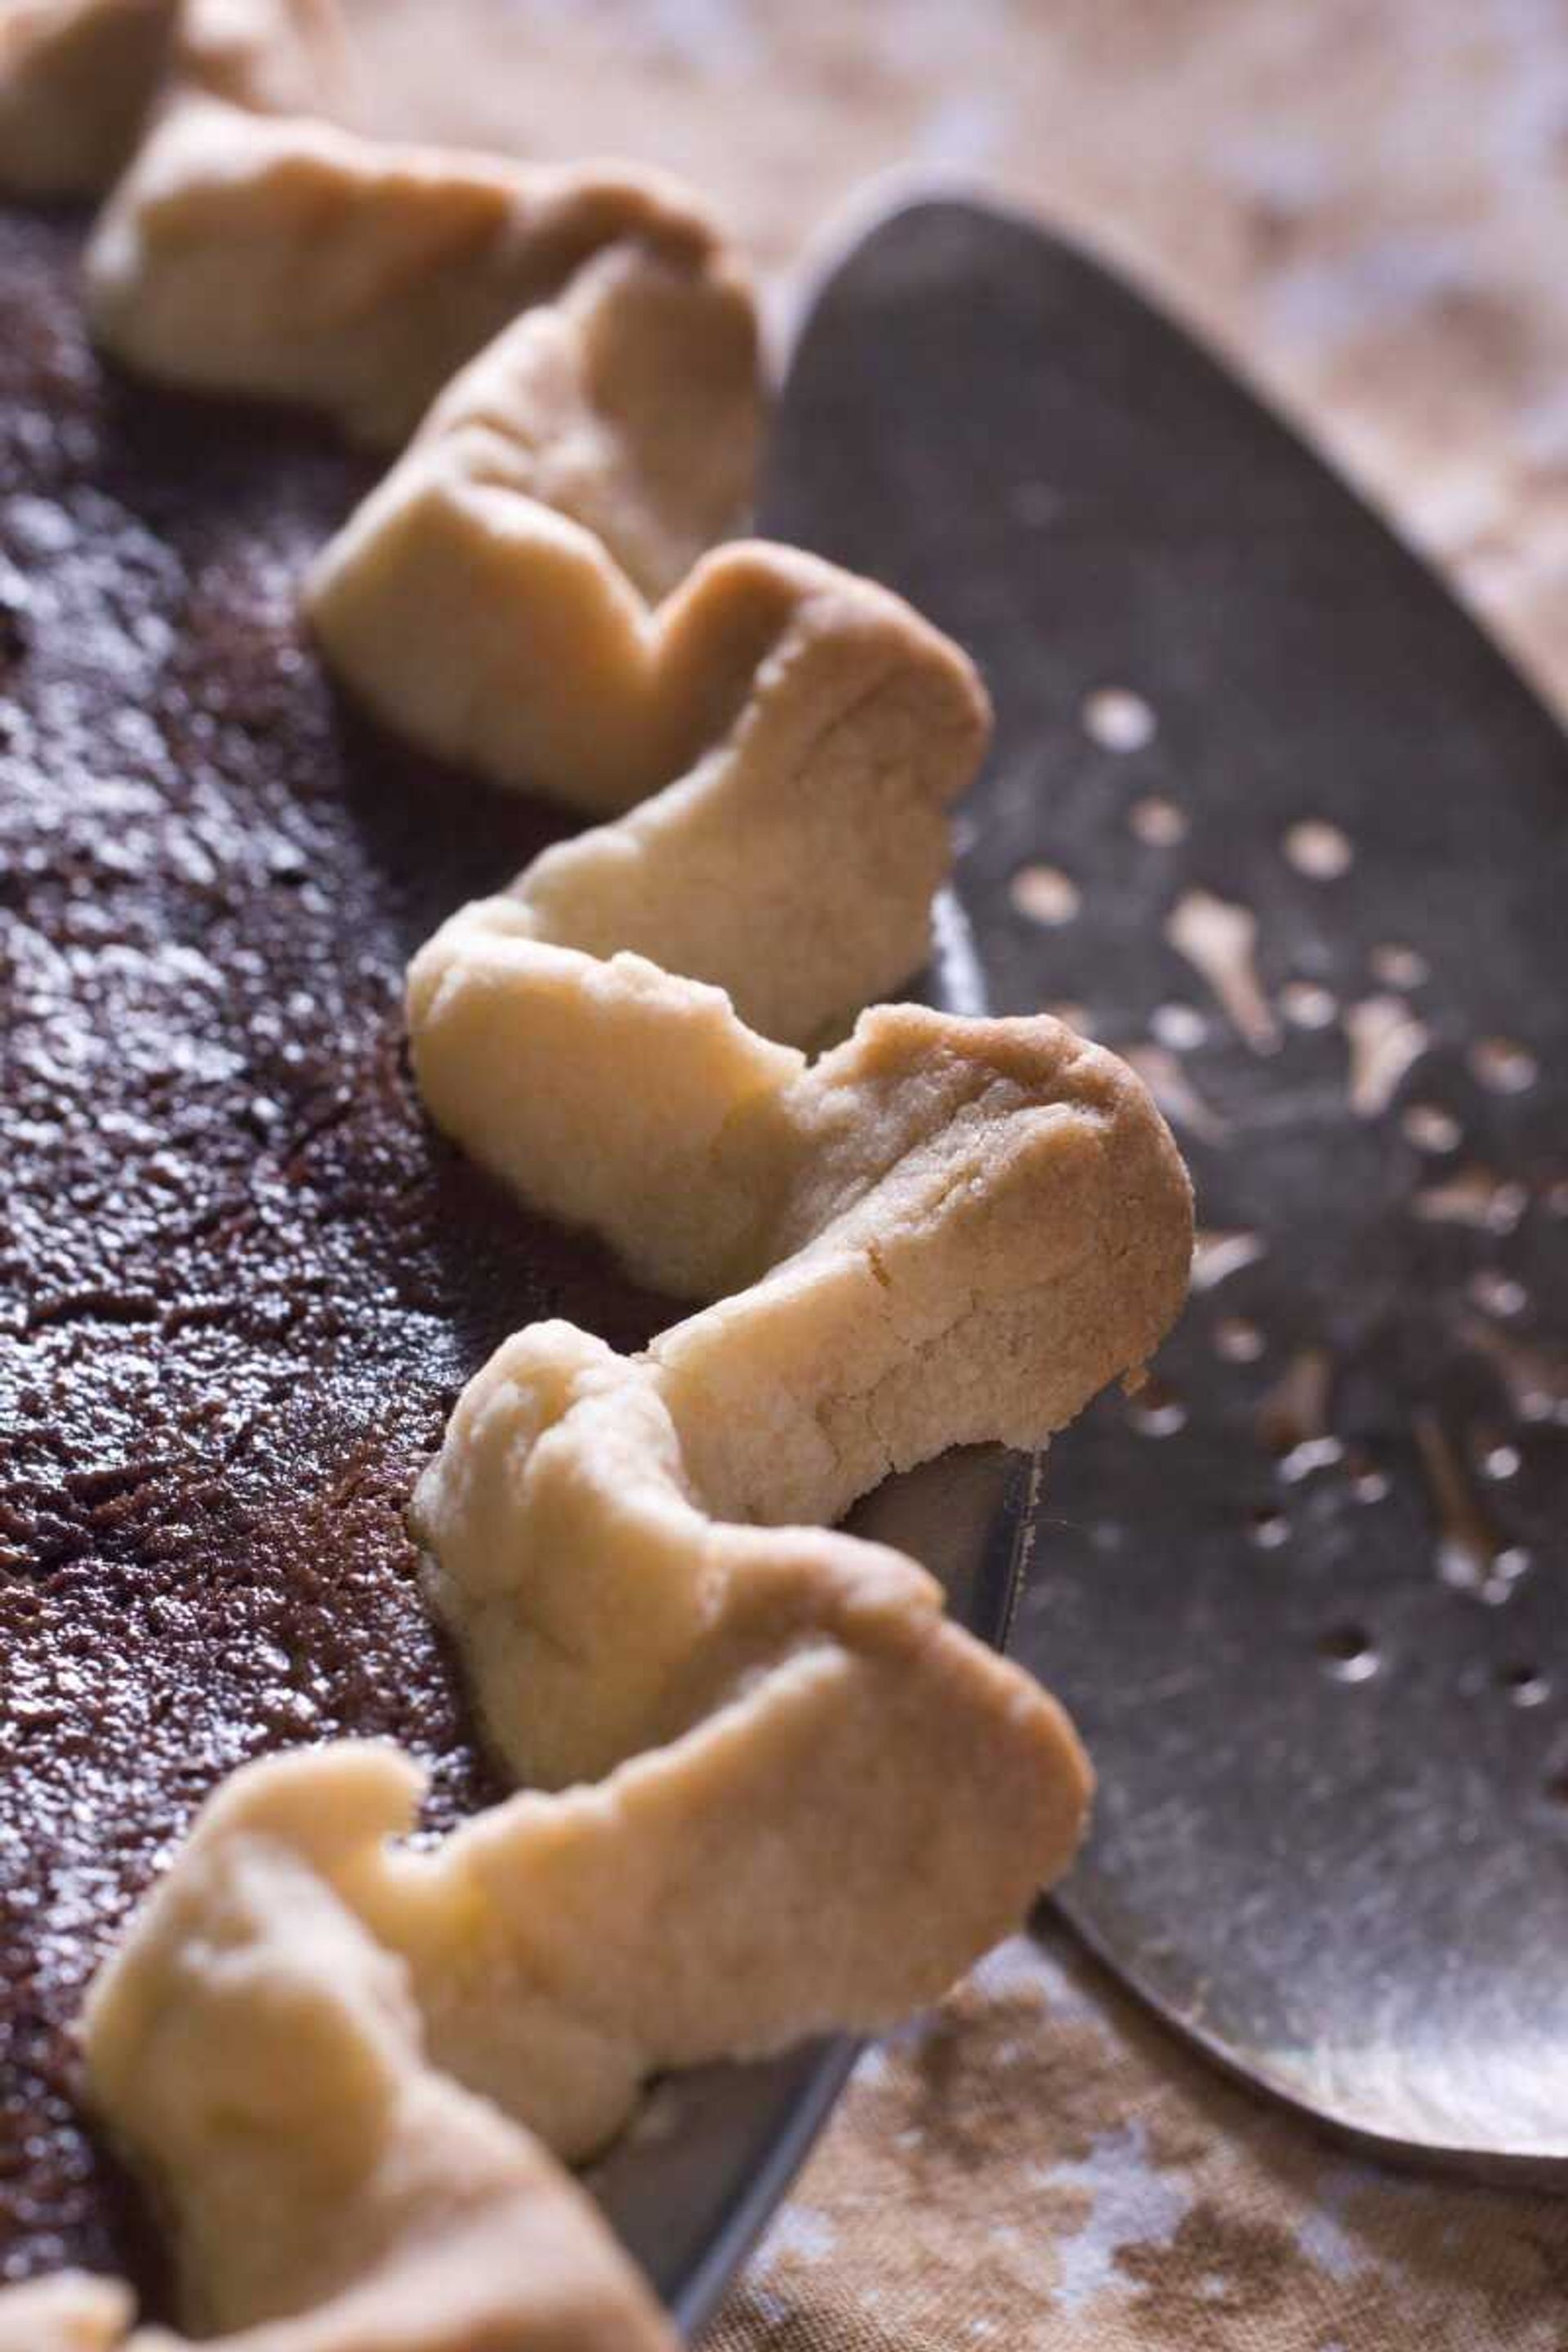
To crimp either, begin by trimming the excess dough all around the pie so that you have just 1/2 inch of overhang. Gently roll the overhang underneath itself so that it sits on top of the rim of the pie pan.
For an easy and rustic look, gently press all the way around with a fork. For a more decorative and classic finish, you can pinch the edge of the dough between your fingers. To do this, use your two fingers and your thumb to pinch the dough together at regular intervals around the rim.
Lesson No. 4
Whatever variety crust you use, it's a good idea to set the pie on a baking sheet when you place it in the oven.
This helps conduct heat to the bottom of the pie, ensuring the bottom of your crust cooks as perfectly as the outer edge. The baking sheet makes it easier and safer to transfer the pie to and from the oven, as well as to rotate it in the oven during baking if needed for even browning.
Lesson No. 5
Some single crust pie recipes call for "blind baking" the crust. This means the crust dough is placed into the pie pan and fully baked before the filling is added.
To do this, fit your dough into the pan as directed, then crimp the edge as desired. Refrigerate it for 10 minutes. Chilling the crust just before baking helps prevent it from shrinking.
Just before placing the empty crust in the oven, line it with a sheet of foil, then fill with 1 1/2 to 2 cups of dry beans, coins or uncooked rice. Unless directed otherwise by your recipe, bake the crust at 400 degrees for 15 minutes, or until golden around the edges.
Remove the crust from the oven and remove the foil and beans or coins. Lower the oven temperature to 375 degrees and bake for another 10 minutes, or until the crust is evenly golden.
Weighing down the crusts during blind baking prevents the bottom from rising during cooking. This step is not needed with crumb crusts.
Lesson No. 6
Virtually all recipes for mealy, flaky and cookies crusts call for preparing the dough, then shaping it into a disk, wrapping in plastic and refrigerating for a bit before rolling out.
At this stage, the doughs also can be frozen for several months (thaw overnight in the refrigerator or at room temperature for 20 minutes) or refrigerated for about 36 hours.
The doughs also can be rolled out, fitted into pie pans and edged, then wrapped and frozen or refrigerated for the same periods of time.
Crumb crusts come together so quickly, advance prep is mostly unnecessary. But the crumbs and any flavorings certainly could be prepared and blended ahead of time.
Story Tags
Connect with the Southeast Missourian Newsroom:
For corrections to this story or other insights for the editor, click here. To submit a letter to the editor, click here. To learn about the Southeast Missourian’s AI Policy, click here.
Related


Advertisement
Receive Daily Headlines FREESign up today!
